Browsed by
Month: May 2019

Craft Smith Palm Springs Paper Pad

Craft Smith Palm Springs Paper Pad

So after doing an entire kit, I decided to just pick a few pieces of paper from one of my “older” paper pads.  For something completely different I picked the Palm Springs 12×12 paper pad which is all about florals, cactus and palm trees.  I was able to use a couple of the cut-aparts that were small enough to fit on a card.

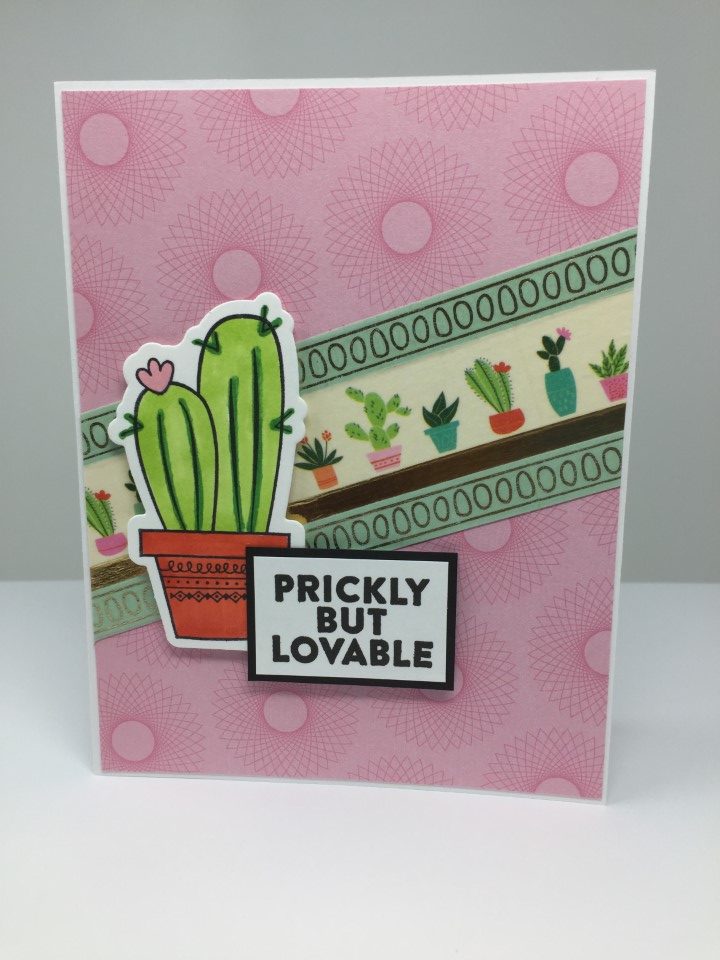
I really liked the cactus print paper and had a specific card sketch in mind before I even got started.  I paired the cactus paper with a pink tone-on-tone paper from the same collection.  To keep the cards nice and bright I used some aqua cardstock for the strip across the card.  For the sentiment I pulled out a Craft Smart cactus themed stamp set that I’ve never used.  For a bit of sparkle I “colored” the plant containers with Wink of Stella and added a few rhinestones and Queen and Company Goosebumps.

For the next couple cards I used some palm tree paper.  The print is a bit spread out so I made sure to use a larger piece of paper.  To add some interest, I added a scalloped border on the matting.  For the peach background paper I was able to cut around a large sentiment on a 12×12 sheet included in the collection.  For the sentiment panel, I stamped a palm tree and the “Paradise” sentiment.  To keep the palm tree image from being too bold I stamped it twice, once on a scrap piece of paper and then on the sentiment panel without re-inking.  As a final touch I added a couple small flags in the upper left corner.

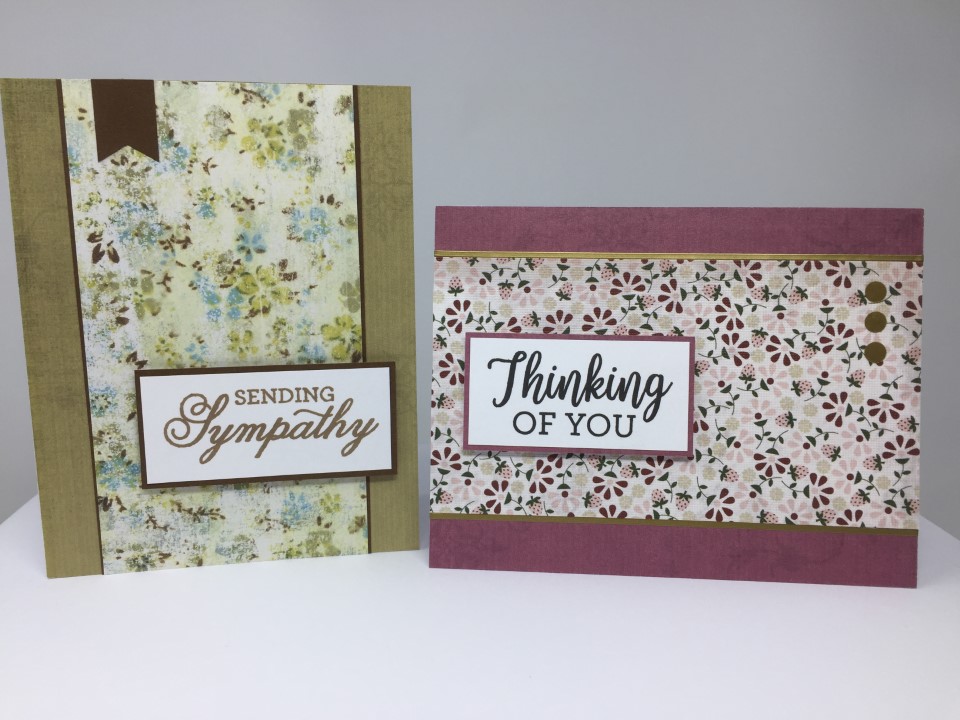
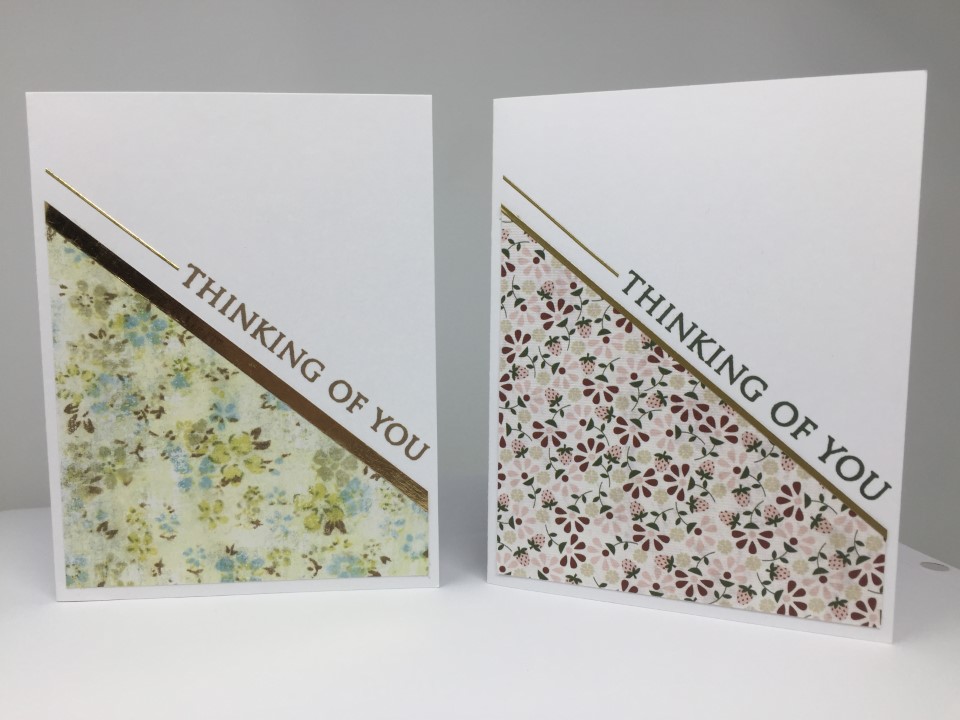
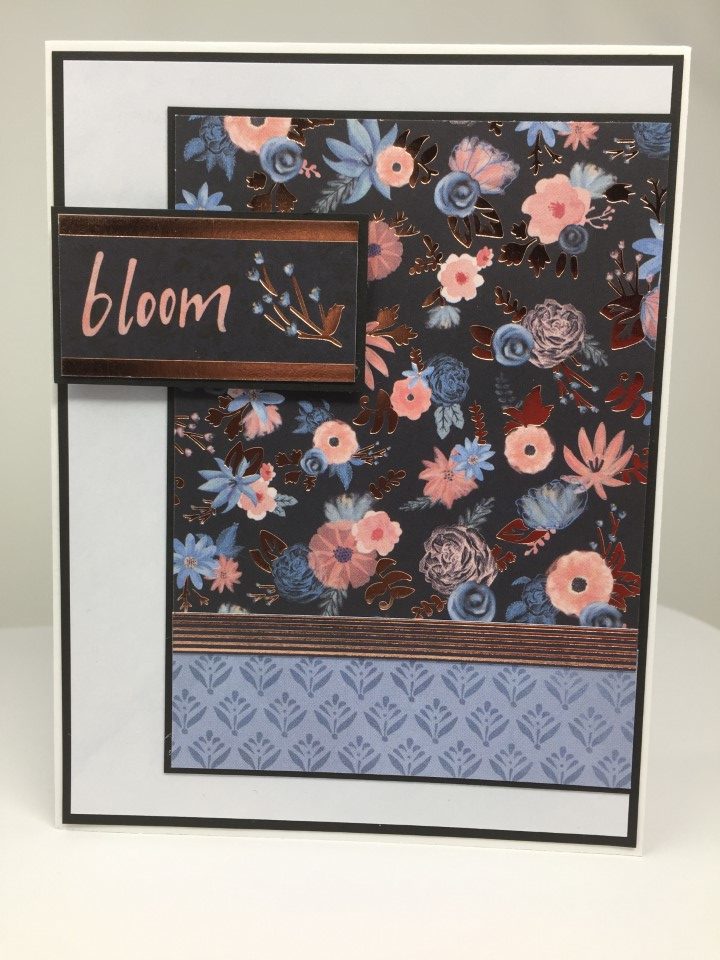
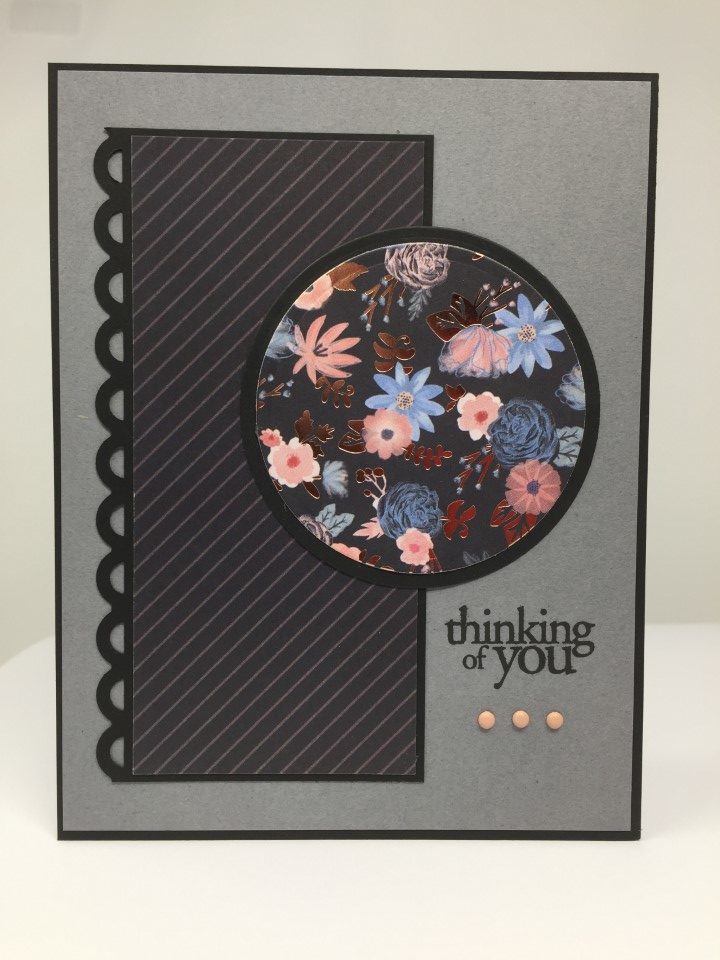
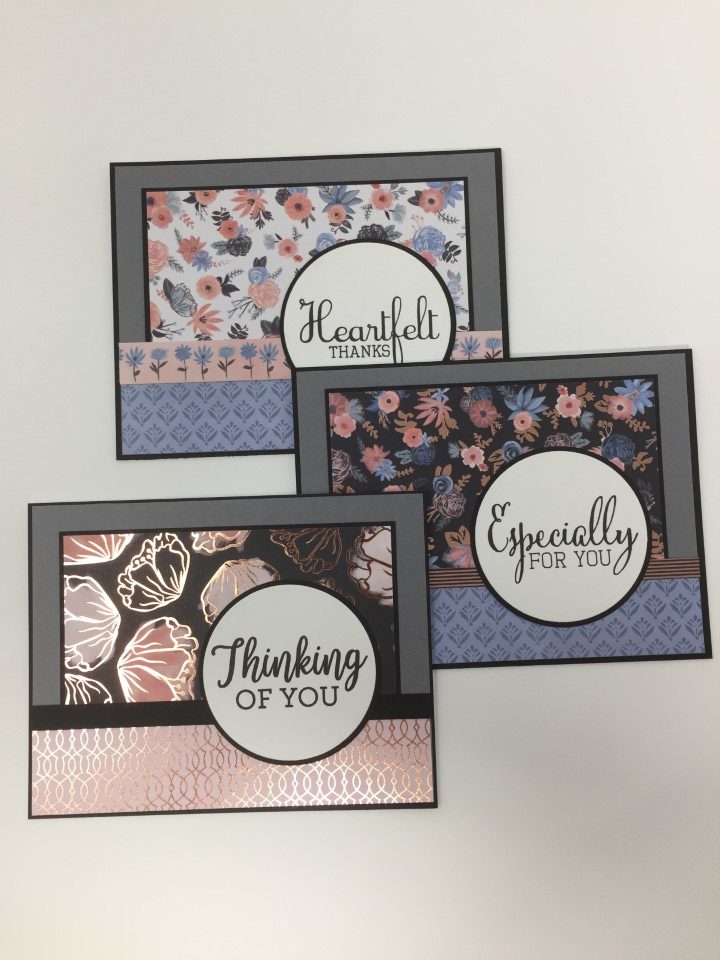
The next cards use some of the floral print paper and cut-aparts in the paper pad.  I used a few different embellishments, rhinestones, bakers twine, pearls and Love From Lizi peel-offs, to add some interest.

The next couple cards used some scraps of the palm tree and cactus print papers.  For the background I used some more tone-on-tone papers from the collection.  For some sparkle and shine I added a Love from Lizi peel-off and Wink of Stella on the focal panel.

For the last card I thought I’d try using some of my abundance of washi tape.  LOL.  I cut a strip of white paper to put the washi tape on as I didn’t want the background pattern to show through.  I used a cactus print washi tape as the main image and surrounded it with some coordinating gold and aqua tapes.  I used another cactus themed stamp set for the cactus image and sentiment.

I ended up making 12 cards and barely made a dent in the 48 sheet 12×12 paper pad.  I have plenty of paper left to make many more cards.

Carta Bella Space Academy Kit

Carta Bella Space Academy Kit

I purchased this kit last year at the Scrapbook Mega Meet.  It was getting late on the last day of the event and a vendor was running a sale.  So, I picked up 10 kits for $4 each.  Not a bad deal since I’ve seen them retail for 3 times that amount.  This wouldn’t normally be a kit I’d buy but…   The charity where I donate most of my cards has said that children’s cards are very popular and I thought this kit might work.

The kit included 12 double sided sheets of paper and a sticker sheet.  Since this was a scrapbook kit, a few of the prints were too large for cards but luckily the prints on the reverse sides were usable.  I was also able to trim down some of the cut-aparts to use as well.  In fact for the first card I trimmed down a cut-apart and used the rocket as the focal point.  I don’t have any specific space themed stamps but I did find an older Recollections set with robots.  I was able to use a couple of the sentiments like “Blast Off” and “Zap” but for most of the cards I just went with a generic birthday or hello sentiment.

Because the paper was 12×12 size, I was easily able to make at least 2 of each card.  I used Recollections black cardstock for all the matting and Versafine Onyx Black ink for any stamping.  Here are a few of my favorites.

I ended up with a total of 34 cards.  I kept the cards fairly flat so that they can be mailed without the need for extra postage.  Most embellishments were either cardstock or the included stickers.

Here’s a picture of the rest of the 34 cards.

There were 2 full sheets of 12×12 paper that I didn’t use.  The prints on 1 side of each sheet weren’t specifically space themed and I figure I can use them with other papers in my stash.  I was able to use most of the stickers although there were a few that were too big to fit on A2 sized cards.

A One Sheet Wonder, Sort of..

A One Sheet Wonder, Sort of..

Before starting a new paper pad I thought I’d take a break and do a quick one sheet wonder.  It’s an easy way to use up a single 12×12 sheet of paper and takes the work out of coming up with layouts.  I think this one sheet wonder works best with a non-directional smaller print so I picked a couple sheets of floral paper.  That way I’m not left with pieces where the print would be going in an odd direction.

The first cards used a 3 x 5 1/2 inch panel.  I didn’t like the panels placed directly on the white card base so I found a few sheets of colored paper to use as the background.  I matted one panel and placed it vertically.  For the other panel I placed it horizontally and added some matte gold Love From Lizi peel-offs instead of matting.

For the next cards I cut 4 1/8 x 5 3/8 panels from white cardstock and embossed them.  I matted both 3 x 3 inch floral panels.  To break up some of the “square-ness”, I used circles for the sentiment and added a few buttons.

The next cards used 2 more 3 x 5 1/2 inch panels.  This time I matted them and placed them on the left side of the card along the fold.  To add some interest, I used a scalloped border punch on one side of the matting and rounded the right side corners of the cards.

For the 2 x 5 1/2 inch panels, I did a simple scalloped matting and added a few brads. I stamped the sentiment directly onto the card base using my Misti to ensure I got a good stamped impression.

I think the next cards are my favorite.  The panels are created by cutting a 4 x 5 1/4 inch piece on a diagonal.  The suggested layouts are to use one panel in the bottom left of a card and the other panel in the top right.  I’m not a fan of placing the panel in the top right and usually end up using both panels on the bottom left.  I used washi tape and Love From Lizi peel-offs to edge the panels.  To bring more attention to the sentiments, I added some of the thinnest Love From Lizi peel-offs.

For the last 4 cards I repeated layouts I’d already used.  The panels for these cards were 5 1/4 inches in length.  I didn’t like the look of them just “floating” on the card so matted them to be a full 5 1/2 inches.  Instead of a matted scalloped border, I used 2 EK Success Paper Shaper punches to create the borders.  I again stamped the sentiments directly onto the card base using my Misti.

I believe the intent of this one sheet wonder is to make 14 cards with each 12×12 sheet.  The cards using the smaller pieces aren’t my favorites so I skipped those and tossed the pieces into a scrap box for use some other time.  One sheet wonders aren’t my favorite, but I do find the paper selection process fun and I like the challenge of trying to find new ways to make the cards more interesting.

Blue Blooms Paper Pad Round 2

Blue Blooms Paper Pad Round 2

I’m still working with the Recollections Blue Blooms 6×6 paper pad.  I found a couple card sketches that I think will work.  I also decided to try a cover-up die that I’ve had for a couple months but hadn’t used.

For the first card I used some of the scraps, pairing a darker floral print with a blue tone-on-tone piece and a foil strip from the cut-aparts.  The gray background is part of a 6×6 sheet and the “Bloom” sentiment is another cut-apart.  I don’t think it looks too bad.  I think the only change I would make would be to embellish the gray background, maybe add some texture or a subtle stamped image with watermark ink.

The next couple cards used the pink pin stripe and some more of the floral print.  The background paper is a dark gray cardstock from my stash.  I thought the pin stripe panel was a bit boring, so I used a scalloped border punch on one side of the matting.  I stamped a sentiment on some white cardstock, but I thought it looked too “stark” with all the darker colors.  I ended up stamping the sentiment in the lower corner.  To add a bit more color to the card, I found some tiny pink brads to add under the sentiment.  I think with the sentiment and color, the card could be used for several different occasions.

I made several cards using the next layout.  It’s a great layout to use when you have 2 1/4 inch wide pieces of paper.  I trimmed them down and paired them with some thinner 1 inch strips.  I used black cardstock and cut-aparts for the thin strips that run across the card.  For the background I used some more of the dark gray cardstock and a few different stamps sets for the sentiments.

For the last card I used the cover-up die.  I really like how this card turned out and it used up a lot of the small scrap pieces.  It was the most time consuming card with the die cutting and assembling of all the little pieces.  I will be getting some wider scor-tape to make the assembly process easier.  Having to tape each individual piece was not fun.  LOL.

I have 2 full sheets and a few scraps left along with another 6×6 paper pad.  I’ll store everything together and pull it all out again when the mood strikes.