Browsed by
Month: January 2020

Crate Paper Cool Kid

Crate Paper Cool Kid

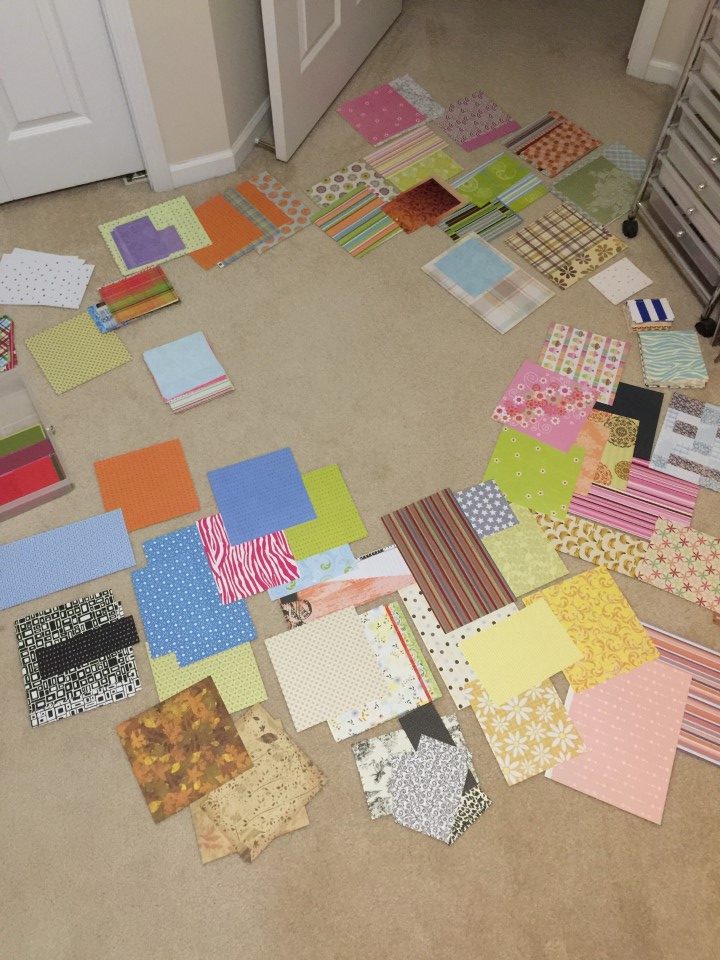
I saw this paper pad at my local Tuesday Morning store.  I liked the colors and prints, especially the dinosaurs.  Since “kid” cards are popular at the charity where I donate cards, I picked up this 6×6 paper pad.

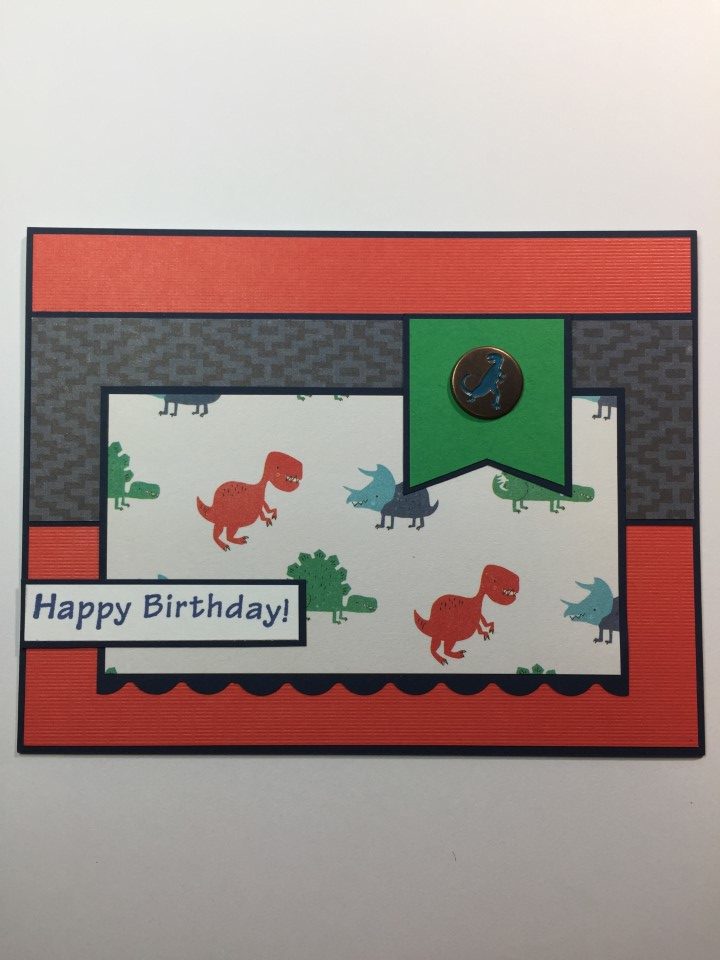
To get started I immediately pulled out the dinosaur paper.  The paper pad had several cut-aparts but I only used a few, like the cute blue triceratops.  A few shiny red enamel dots and this card was done.

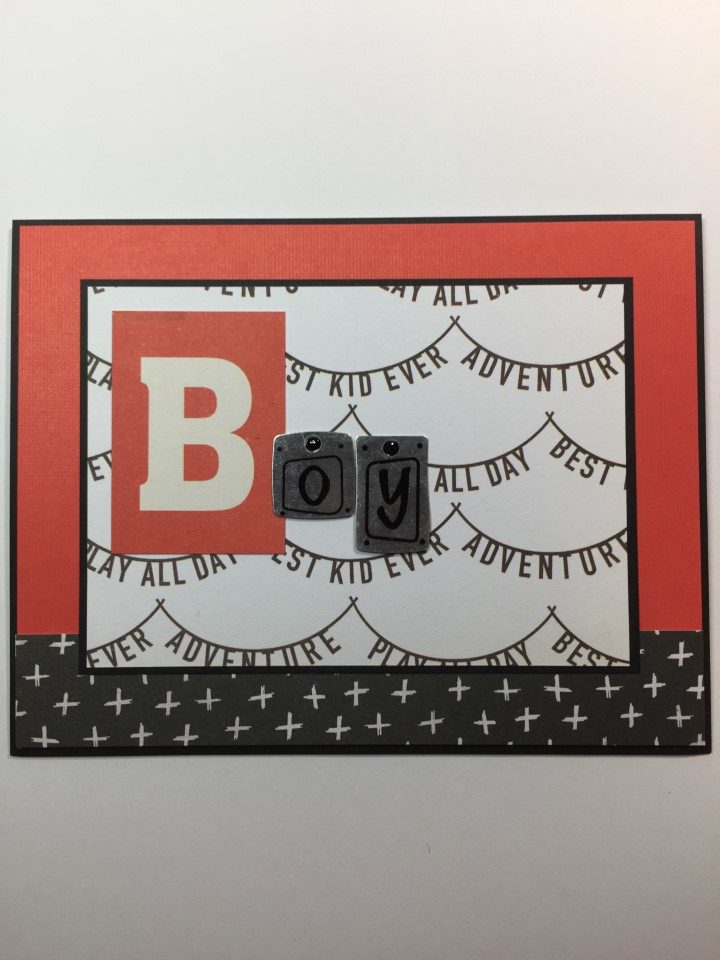
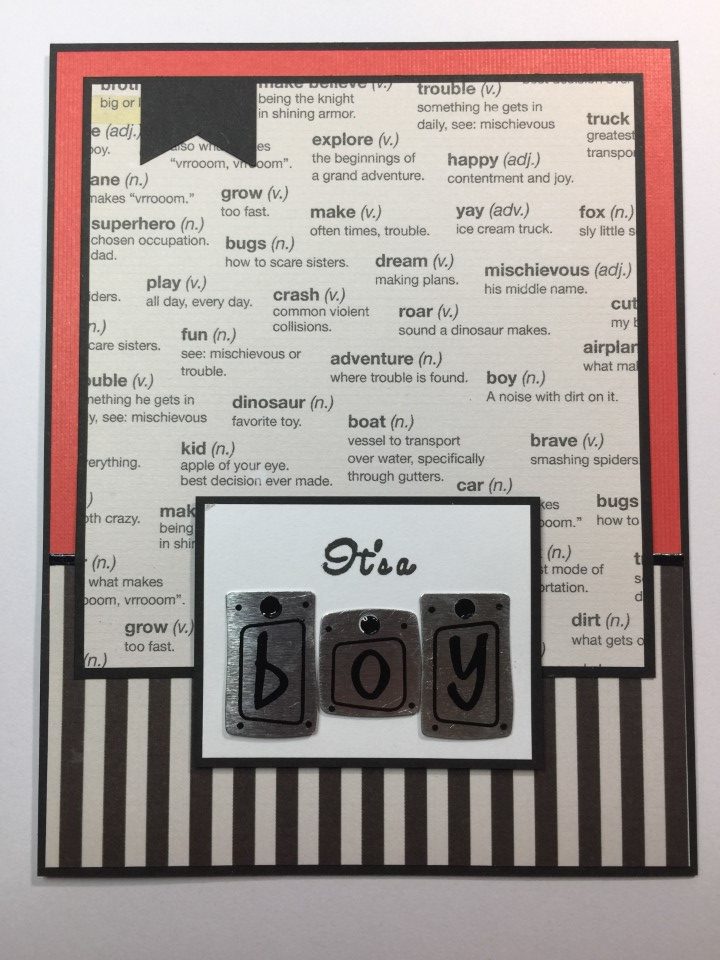
The paper pad was very much geared towards boys, so I thought it would be fun to spell out “boy”.  I used a cut-apart for the “B” and a few metal tags for the “o” and “y”.  I got a bunch of the letter tags in a grab bag of scrapbooking supplies and have no idea who made them.  I attached the tags with glue dots and filled in the hole at the top of the tag with some black Nuvo drops.

I guess I used more of the cut-aparts than I thought…  Here I added a few red brads and a googly eye to the robot.

I still had a few pieces of the dinosaur paper left and since it was my favorite I had to use it.  The green banner looked a bit bare so I pulled out a couple dinosaur brads that I’ve had for years.  The theme and color matched the card perfectly.

Since the definitions on the “dictionary” paper all had something to do with boys, I thought it would spell out “boy” again.  And use up a few more of the tags.

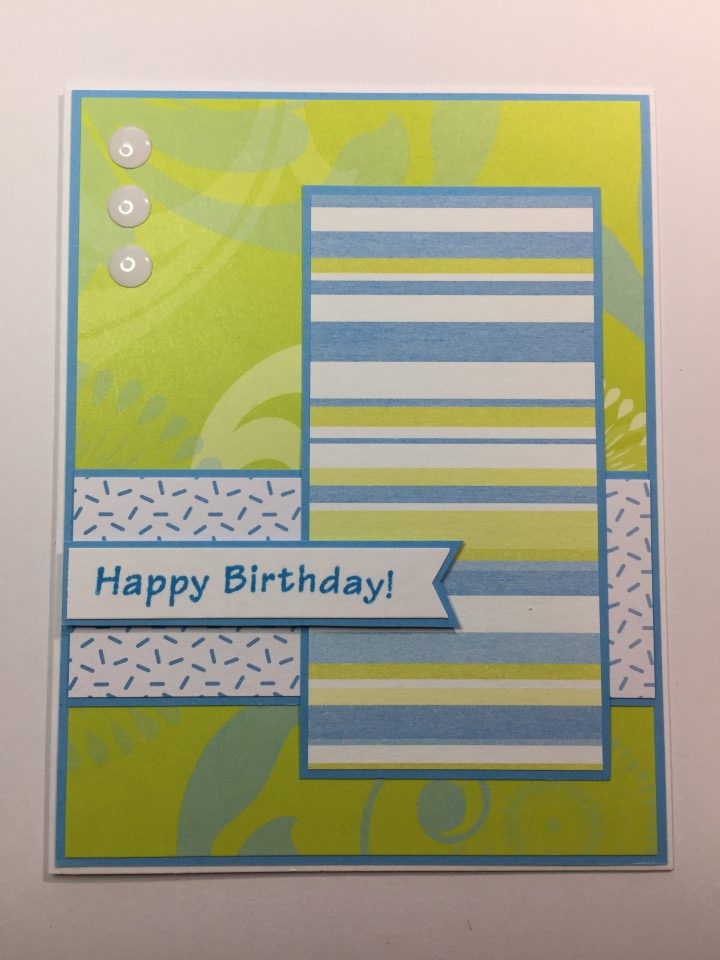
I didn’t realize it until I was writing the blog post, but most of my favorite cards from this paper pad used a lot of red.  The paper pad actually had several papers with blues and yellows as well.

Random Sheets of 12×12 Paper

Random Sheets of 12×12 Paper

I don’t know if you’re like me, but…  I can’t resist buying paper, especially when it’s on sale.  I’ve got drawers full of one off sheets of paper that I was “sure” I could use.  I decided to go through one of the drawers to try and use up some of these random sheets of paper.

Since my desk wasn’t big enough, I ended up spreading out the paper on the floor.  After sorting through the paper, I had several possible “matches”.

Since these were larger pieces of paper I was able to make several cards with each “match”.  While I was in the using-up-supplies mood, I pulled out sequins, ribbon and brads that I also can’t resist buying.

One of my favorites was this baby card.  While it is the traditional pink, I think the bright pink and yellow paper was a bit unexpected and neither papers were specifically baby-themed.

I made several cards using this bright green printed paper as the background.  For the 2 smaller panels I was able to use several different scraps that coordinated with the green.

I really like the plaid paper on these cards.  It has almost a fabric feel to it.  I didn’t have a full 12 x 12 sheet of the plaid, but by pairing it with the orange paper I was able to stretch it into a couple of cards.  The cards were a little boring even with the brown border punched strip so I added a few orange brads around the sentiment.

The paper for this card was part of the artist paper included in a Stampers Sampler Take Ten magazine (which I really miss).  The paper included 4 different prints.  By using a different print for each of the panels I was able to make several cards from a single sheet of 8 1/2 x 11 paper.

This card was a little more time consuming since not all areas of the madras plaid paper coordinated with the colors in the background paper.  I did a bit of creative cutting to get as many usable pieces of the plaid as possible.

It was a lot of fun going through the different papers.  It’s interesting to see how my style has changed over the years.  I found several sheets of paper that I don’t see myself using and pulled those out to donate along with the cards I made.

I have a couple more drawers of paper that I didn’t even touch.  I need to try doing this every few months to thin out my paper supplies.

New Address Cards

New Address Cards

A long time customer contacted me about making some change of address cards.  She had recently moved and wanted to send out cards to family and friends with her new address.  I definitely wanted to include a house image or shape in the design.  As I would be making many cards, hand cutting the card base into a house shape wasn’t feasible.  I knew I had a house image stamp and thought I’d try that.  The stamp is part of an old stamp set and included a street scene with 3 houses.

I choose a layout with clean lines which would work well with an assembly line process – stamp, color, cut all the individual pieces and then assemble.  I colored one house with colored pencil, using colors that coordinated with the printed papers I was planning to use.  Once my customer approved the mock-up, I got to work.

First I cut all of the individual pieces – white cardstock for the stamped image, printed paper for the bottom panel on the card, blue cardstock for the top panel on the card, cardstock strips for across the card and then the matting for everything.

I then stamped the image on each of the white cardstock pieces, allowing time for the ink to fully dry before beginning the coloring.  I colored batches of about 10 images and then matted them before coloring the next batch.

I die cut all of the cardstock strips to have a scalloped border and then assembled the top and bottom panels and the scalloped border for all of the cards.

For an embellishment, I tied a coordinating ribbon around the middle of the panel.  Using foam tape, I attached the house image to the center of the panel.  The completed panel was then matted and attached to the card base.

As a sentiment I printed “We’ve Moved” which I cut, matted and attached to the lower right corner of the card.

For the inside of the card, I printed the new address on white cardstock and then die cut and matted using the Gina Marie Venetian Label die set.