Wow! I knew it had been a while since my last post but I didn’t realize it had been a month. At least I’ve been busy making cards.
A few weeks ago I started on my first batch of Christmas cards for the year. Between cards for donation and hopefully cards for my booth, I will be needing quite a few Christmas cards this year. To avoid the last minute rush I’ve set a goal to make 1 batch, at least 25, Christmas cards every month, with a few double batches later in the year.
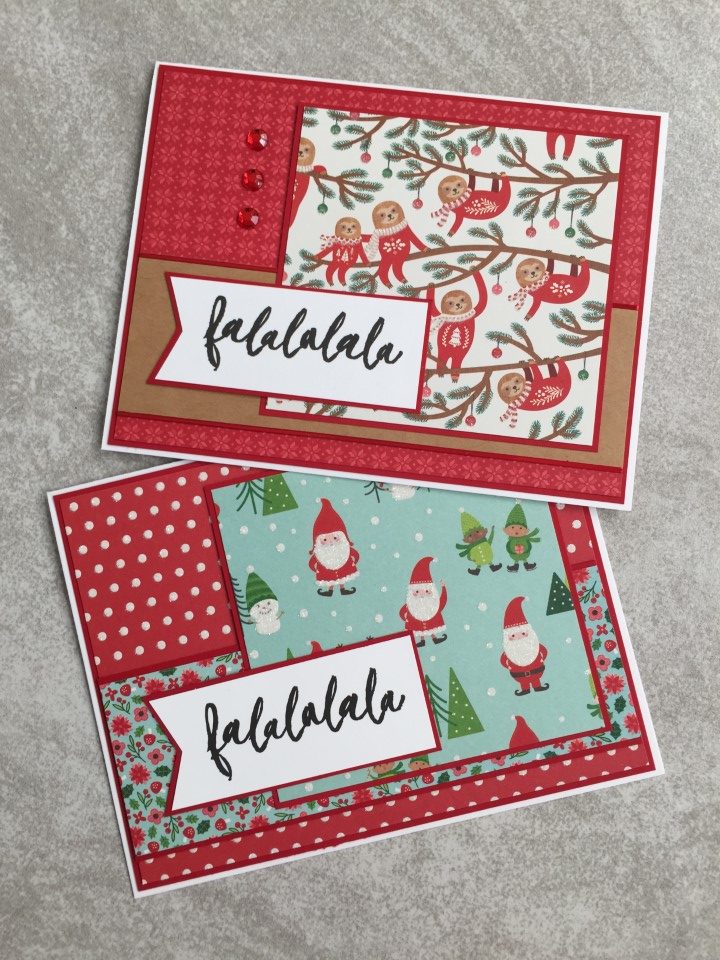
For my first batch of Christmas cards I pulled out the Cozy & Bright paper pad. It’s a 36 sheet paper pad so I figured I could easily make at least 25 cards. The paper pad has a lot of red and green with a little blue and some fun gnomes and sloth prints. The paper pad also included 2 sheets of cut-aparts which was great so I didn’t need to pull out a bunch of Christmas sentiment stamps.
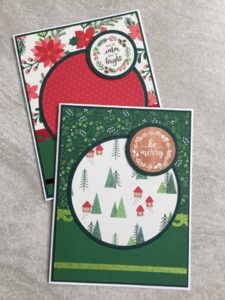
A couple of the cut-aparts featured a circular design which worked great for a sketch I wanted to try. The sketch features 2 circle panels and the cut-aparts were the perfect size for the smaller panel. For a bit of sparkle, I used light green glitter paper and red mirror paper for the scalloped borders and accent strips.
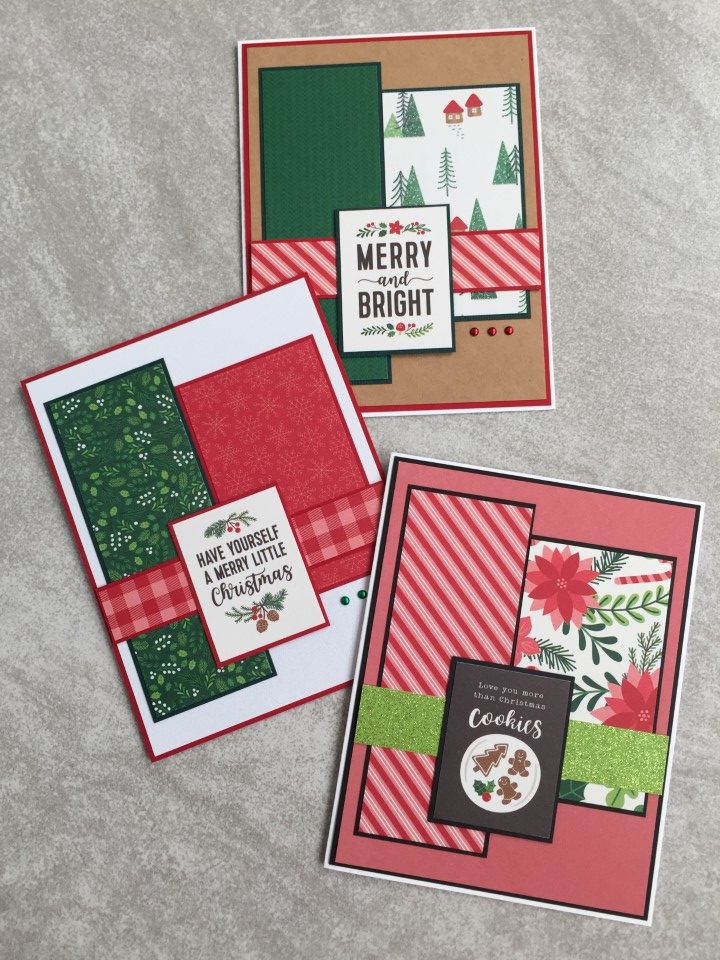
With so many sheets of paper in the paper pad, there were several to choose from for backgrounds. I used some of the busier prints for the focal panels (my favorite is the sloth) and more of the cut-aparts for the sentiments. I added some simple embellishments like white epoxy dots on the red stripe/holly print, rhinestones on the gingham/floral print and clear iridescent peel-offs on the snowflake/sloth print.

For the next couple of cards I pulled out a go-to sketch that features a large focal panel that I could use with the sloth and cute gnome prints. Also since the gnome print included a lot of blue, I wanted to use it while there was still some of the blue floral paper to pair it with. Both the sloth and gnome prints featured a glittered finish, so I kept any additional embellishments minimal with a few red rhinestones and peel-offs. I did have to pull out a Christmas stamp set as the cut-aparts did not work with this sketch.

Since there was still some of the blue floral print, I paired it with the last of the gnomes. Some white shimmer paper for the background and a few rhinestones hearts and the card was complete. I wasn’t sure what to do with the black/white Christmas song paper. It was the only black/white paper in the paper pad and I was struggling a bit with what to pair it with. I decided to use it as a “neutral” and pair it with some red and green prints. To tie in the black, I used a cut-apart with a black background. And to keep it from looking too boring, I added a banner in red mirror cardstock.

For the first several cards I was able to make 2 cards using the same papers. As I accumulated more scraps I still made multiple cards of each design by adding white shimmer paper and kraft cardstock for the backgrounds and switching up the papers used for the different panels. I also used up the last of the cut-aparts.

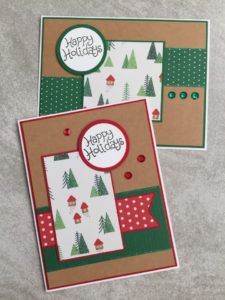
There were still a few good sized pieces of the forest print paper. Instead of throwing them in my box of scraps, I decided to make a few more cards. By using the polka dot scraps and some plain green and kraft cardstock I was able to make 2 more cards. I used a “Happy Holidays” stamp featuring a fun font that I think matched the feel of the card. A few rhinestones for embellishment and this set of cards is complete.
So… 31 cards done and many more to go.