Browsed by
Category: General

Ms. Sparkle & Co. Greenery Paper Pad

Ms. Sparkle & Co. Greenery Paper Pad

And now back to paper that’s more my usual style…  I picked up this 5.5 x 7.5 inch paper pad on clearance at JoAnn’s for less than $1.  I liked the colors and there was only 1 sheet that wasn’t an all over print.

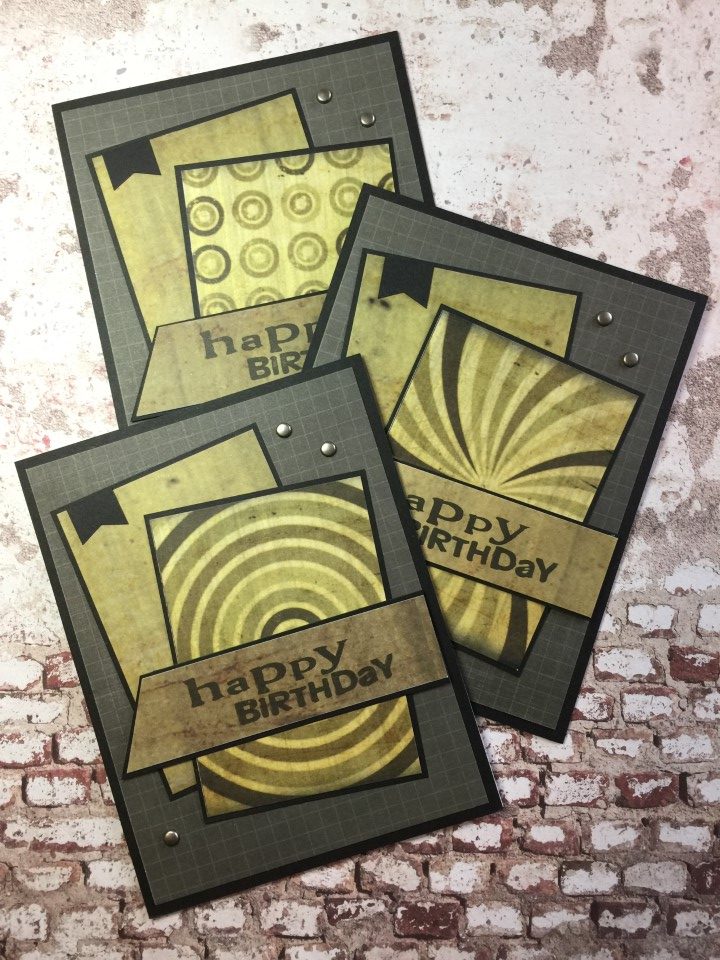
I can’t remember the order I made the cards so for the pictures I paired them up based on the paper.  While some of the cards look similar (i.e. the “Looking Sharp” sentiment cards), others looked quite different depending on the layout and background papers used.

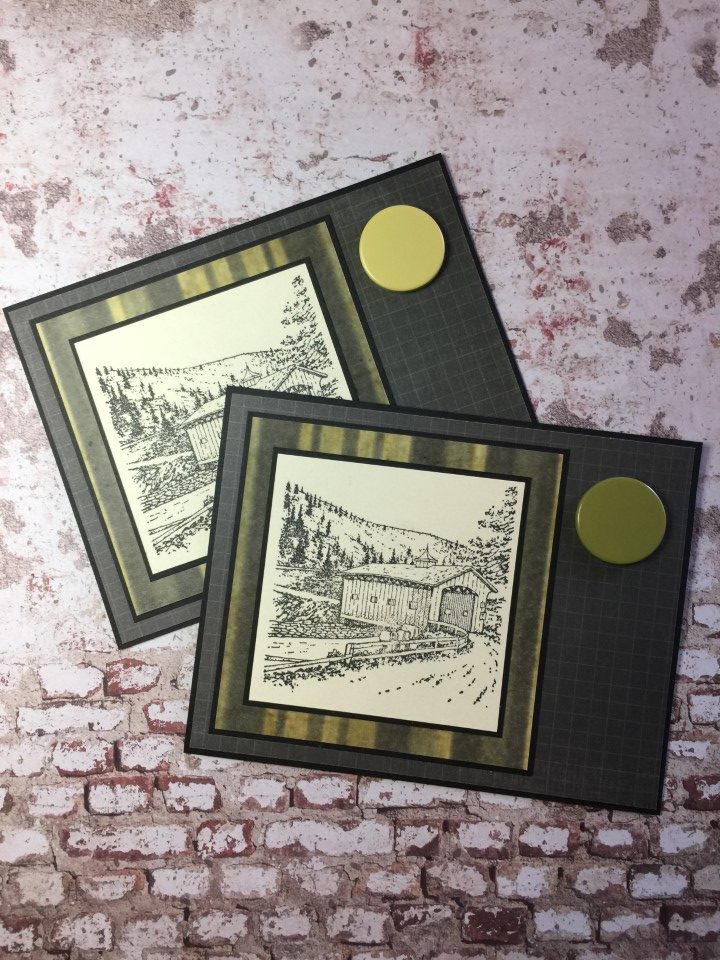
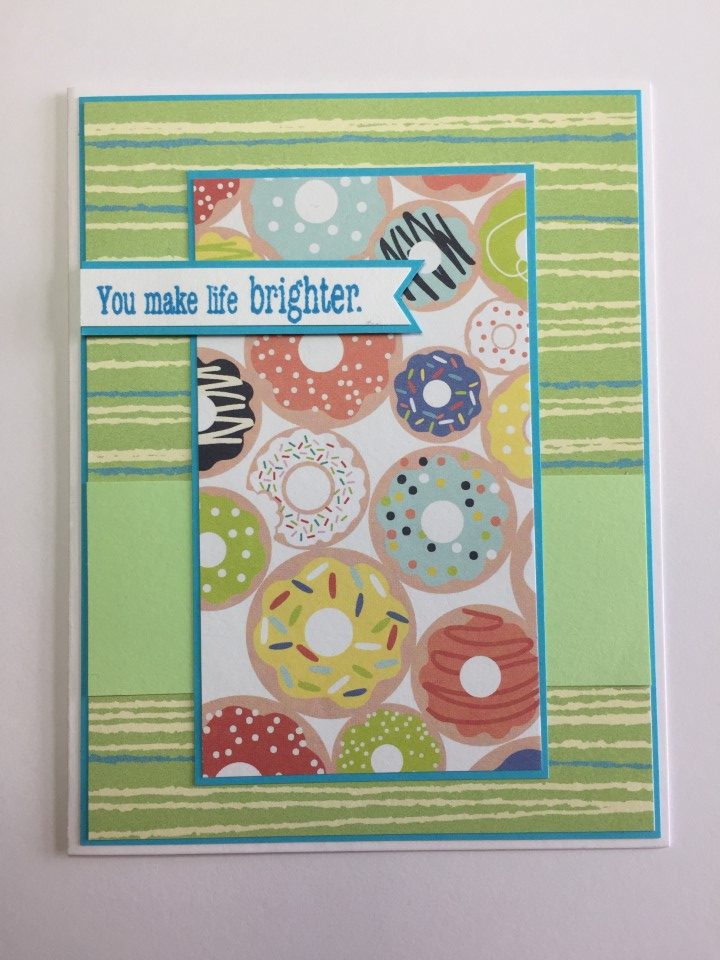
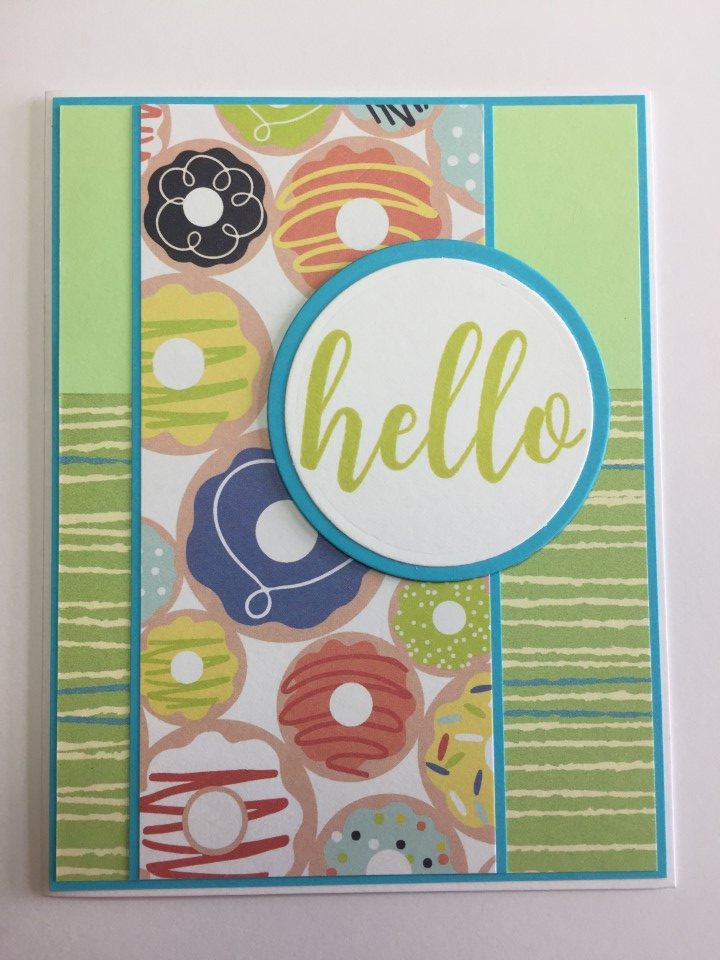
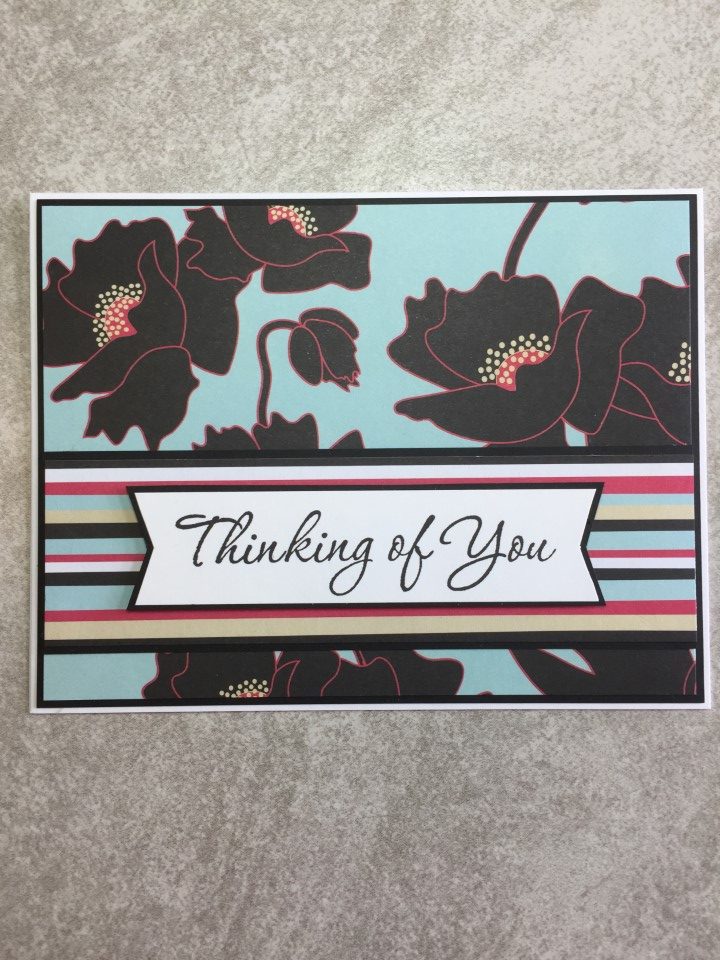
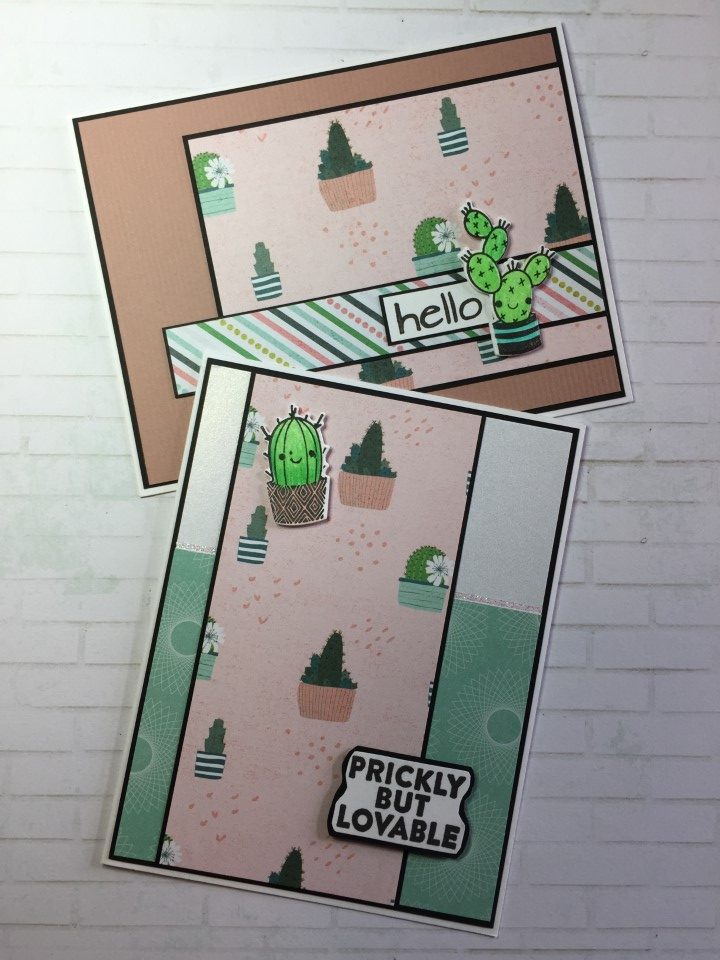
The focal panel for these cards used the 1 sheet that was not an all over print.  By trimming the paper to a 3 x 5.5 inch strip and then cutting the strip into 2 pieces I ended up with 2 focal panels that I used for 2 different layouts.  I was also able to use the remained of the sheet, which was a solid aqua color, as a background on other cards.

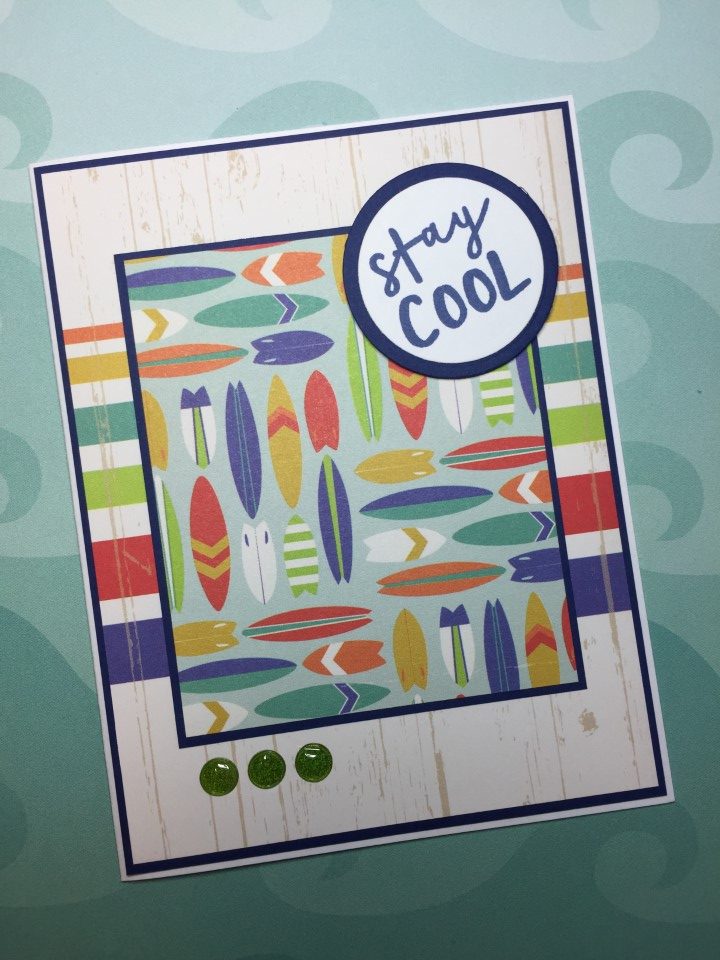
I was excited about this print as it gave me a reason to use a couple of the cactus themed stamp sets that I have.  The cactus images were stamped, colored using colored pencil and cut using the coordinating dies.  The salmon colored cardstock for the background, picked up from the flower pots in the printed paper, gives the card a warm look.  While using the aqua print, shimmer paper and humorous sentiment gives a more lighthearted feel.

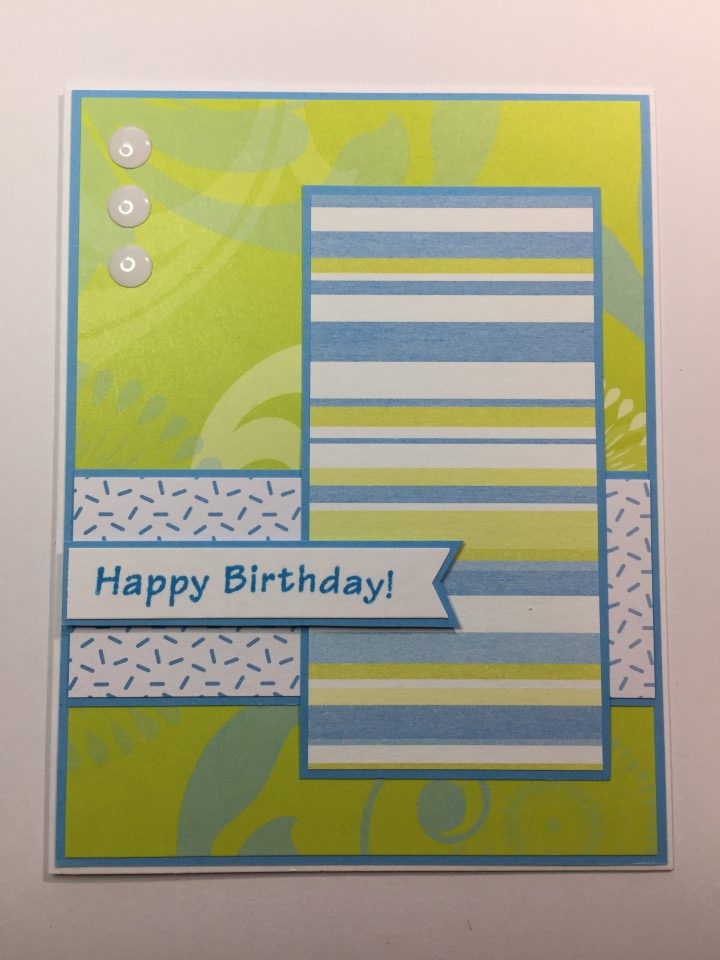
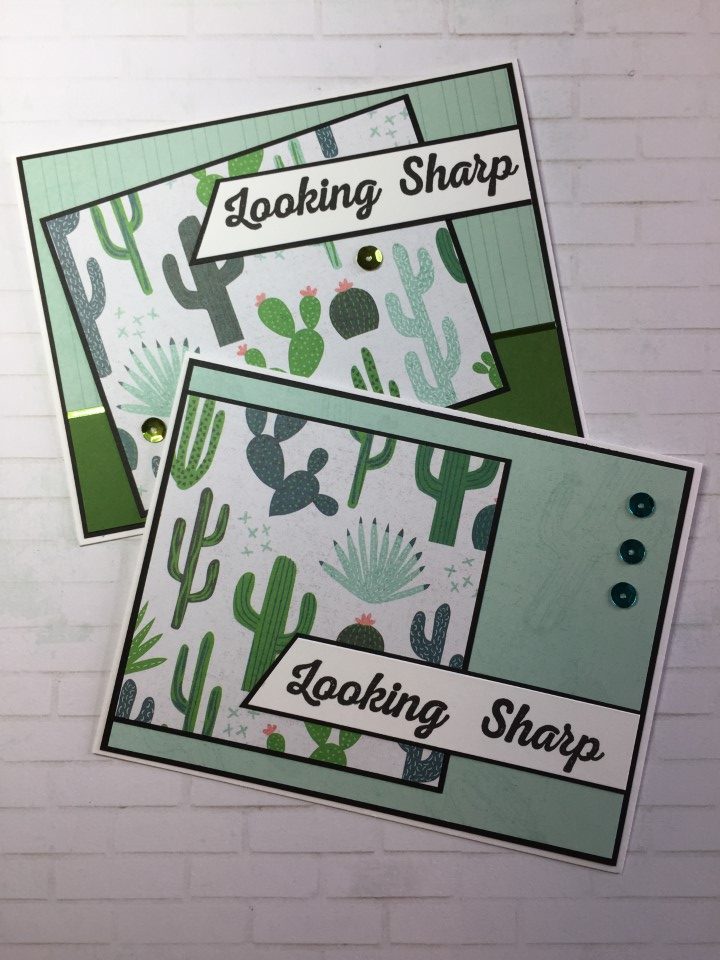
As this printed paper was mainly blues and greens, I stuck with that.  One card uses an aqua striped print and green cardstock for the background.  The other uses a solid aqua paper with cactus images stamped on it with watermark ink.  The stamped images are subtle but add some texture to a plain background.

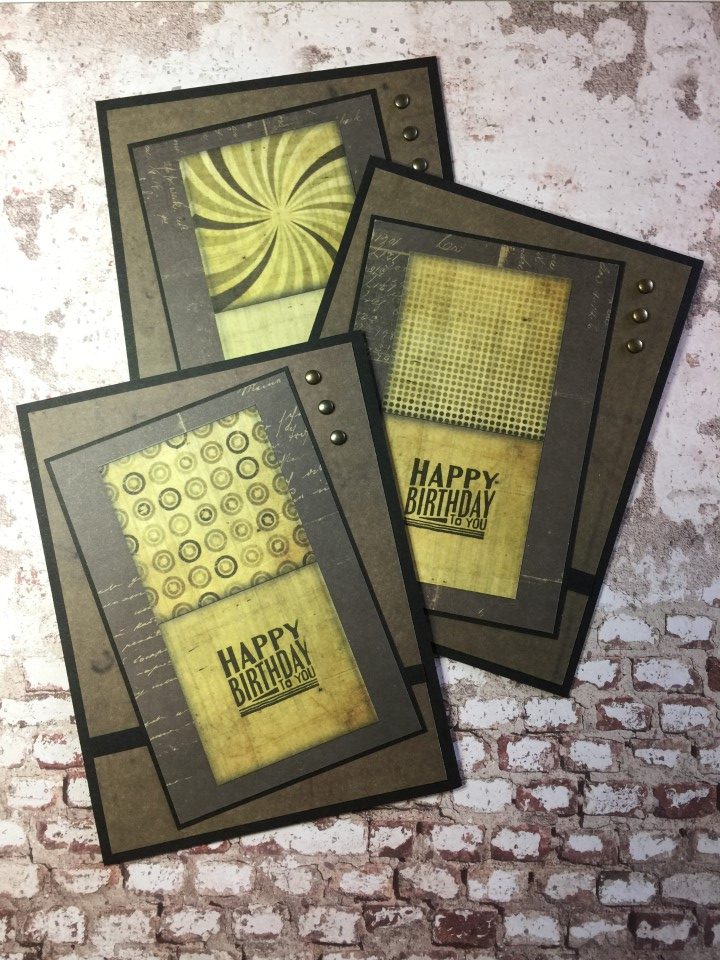
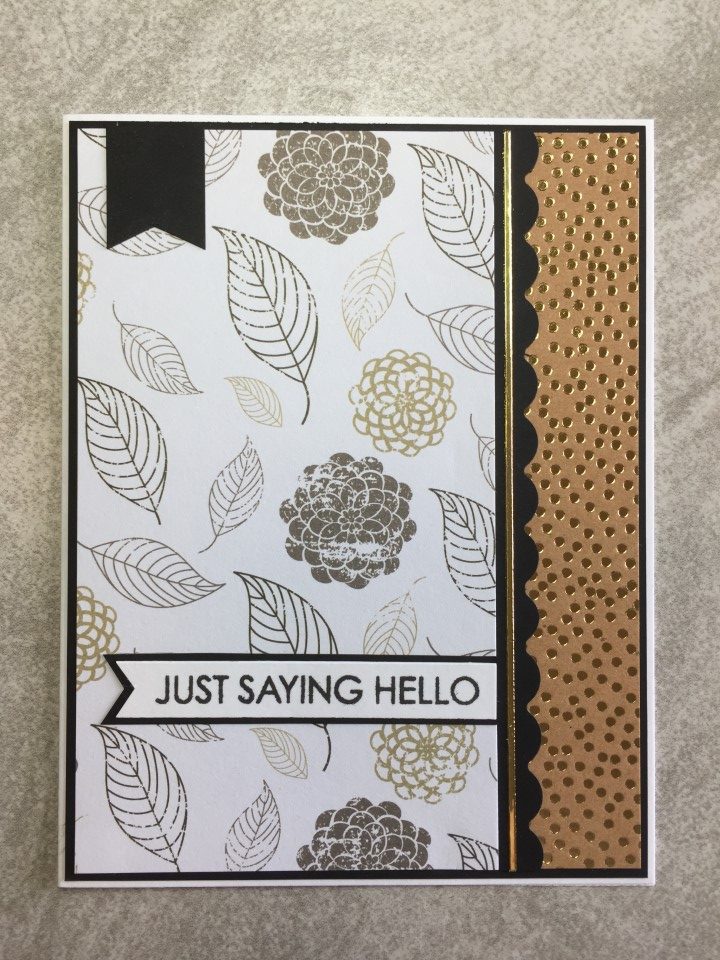
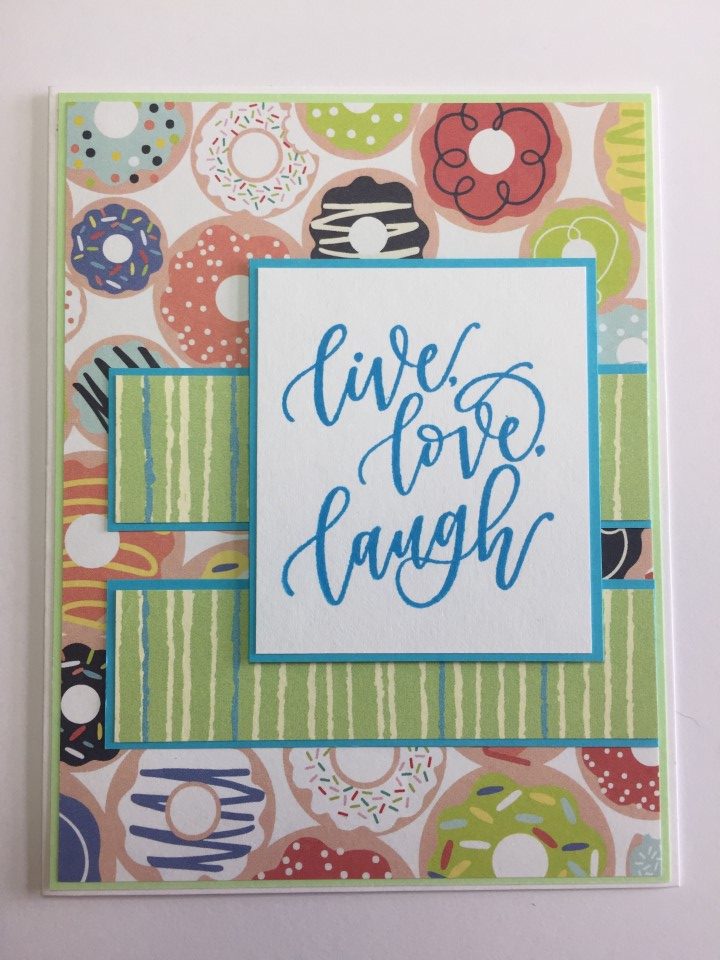
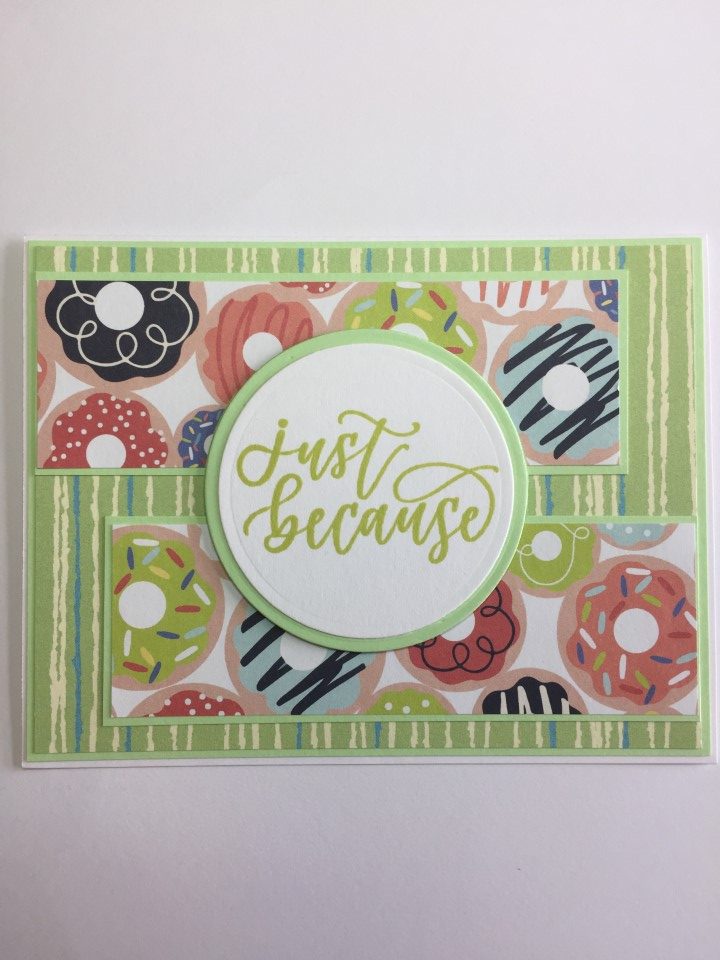
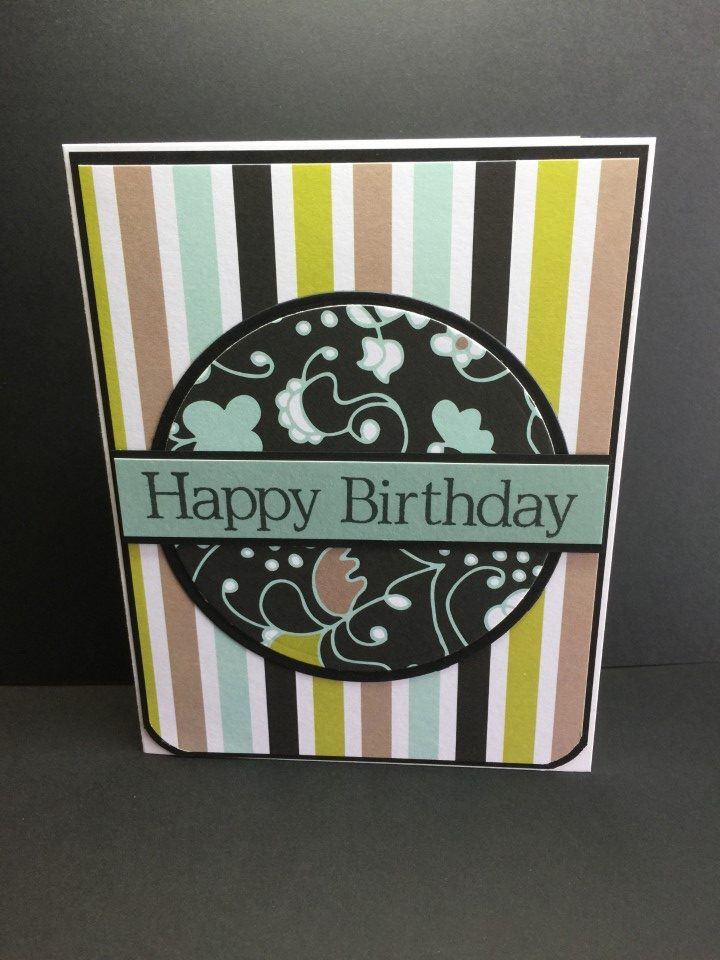
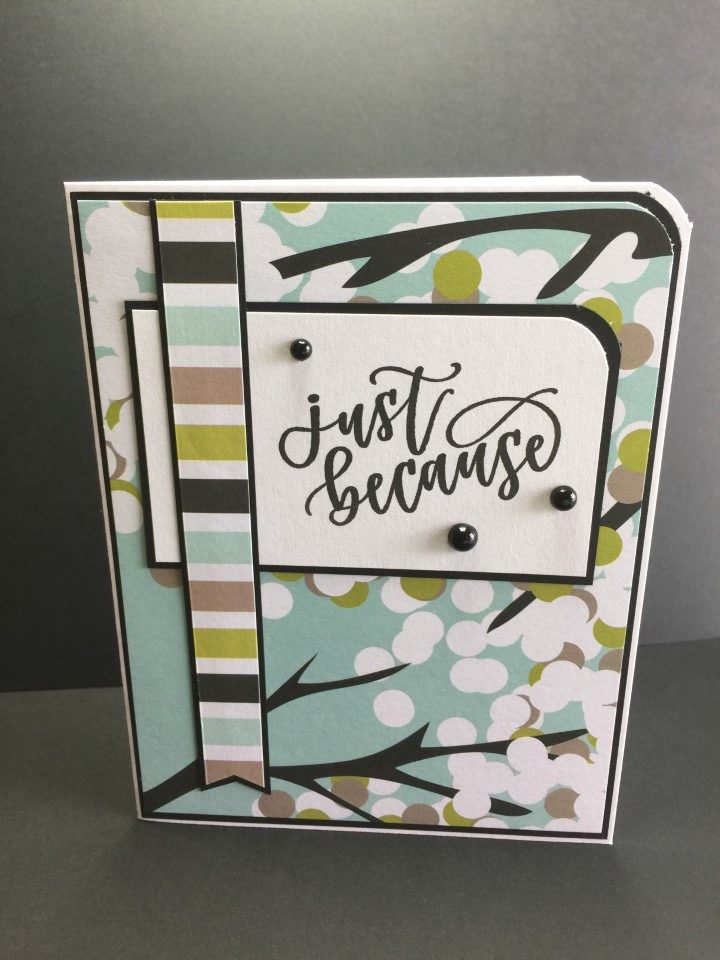
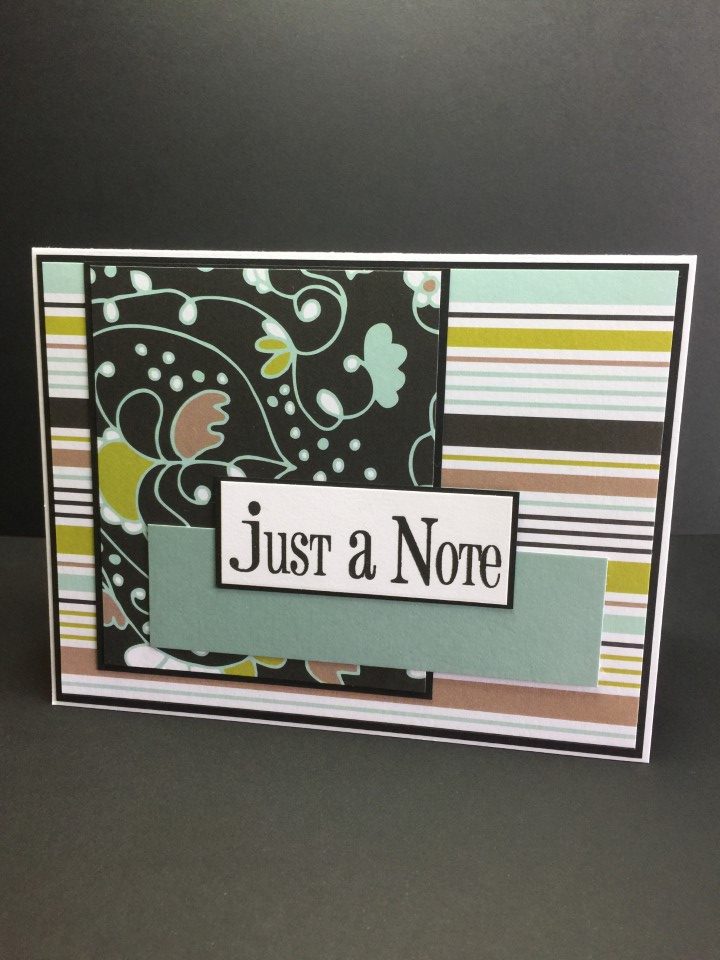
These cards used my favorite paper from the paper pad.  There were so many colors (pink, green, gray, aqua) to choose from for backgrounds and accents.  For these cards I used green and gray for the backgrounds and a graphic black/white polka dot print for an accent.

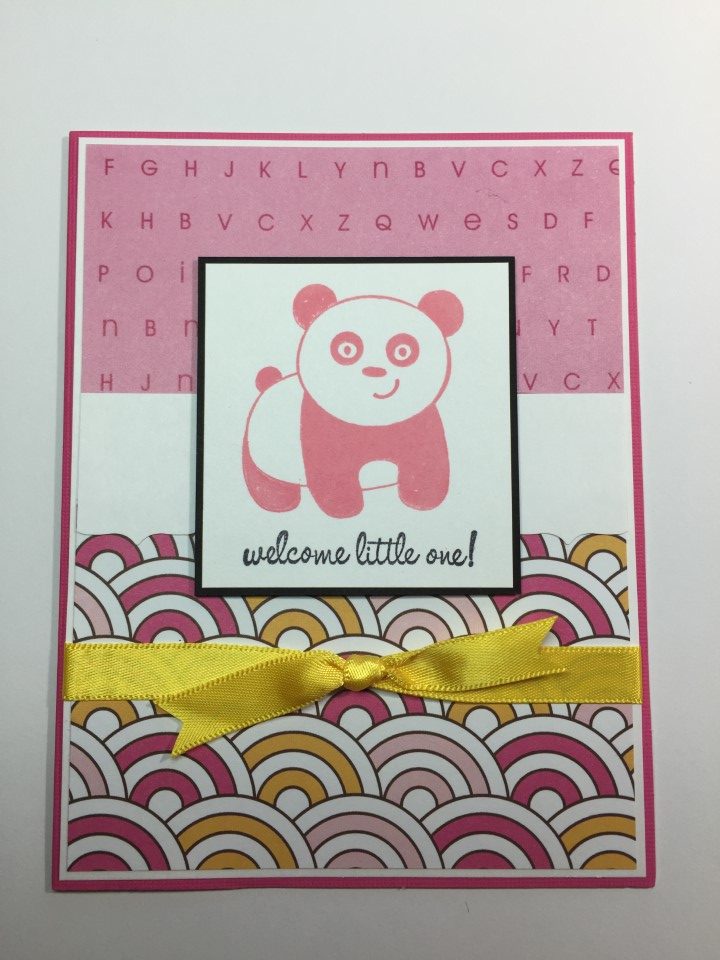
Pairing the same print with a bit of pink and scalloped borders gives a brighter and more feminine look.  Some pearls, paper flowers, brads and Love from Lizi peel-offs finish the cards.

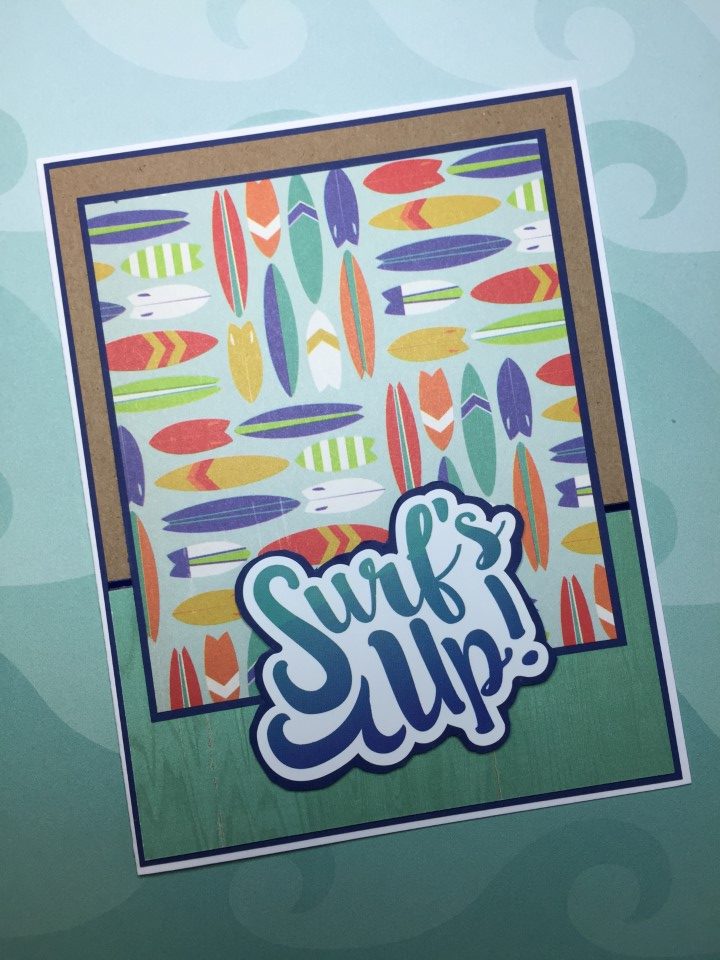
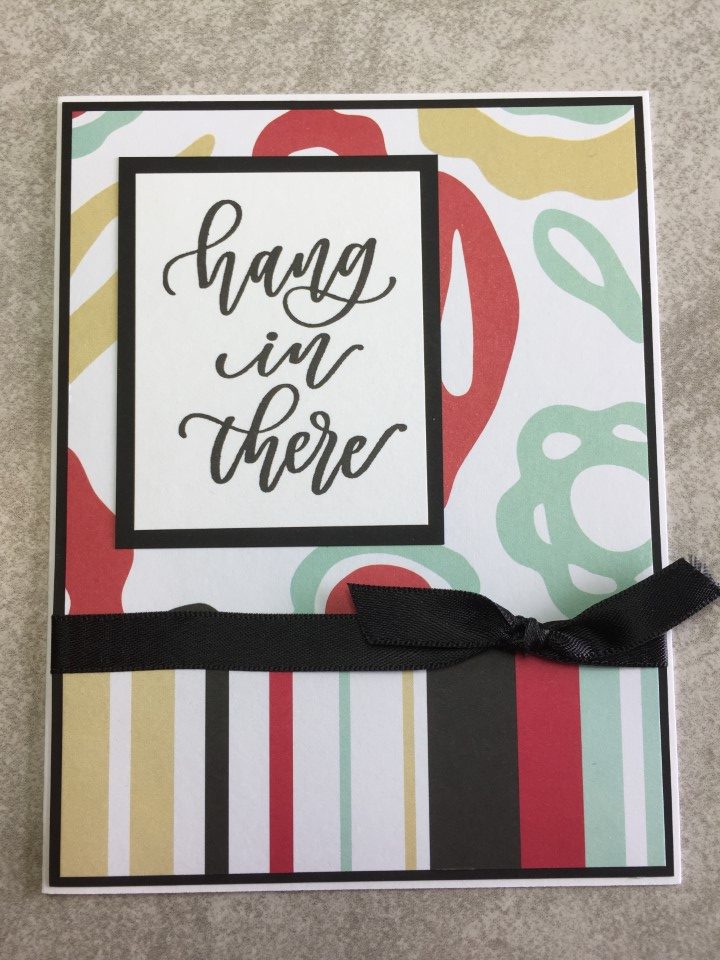
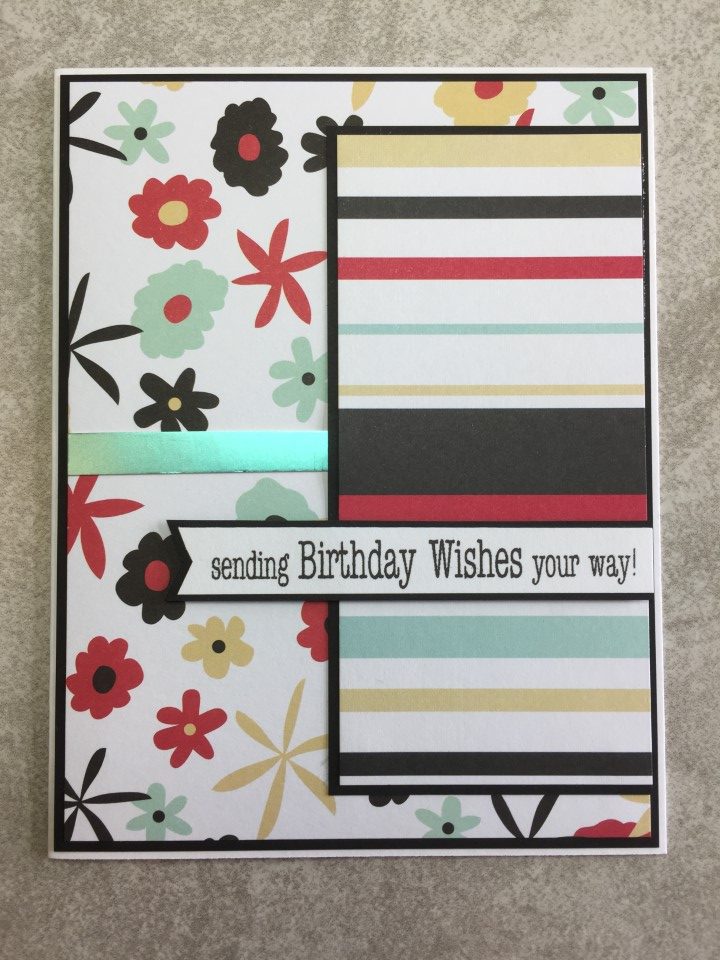
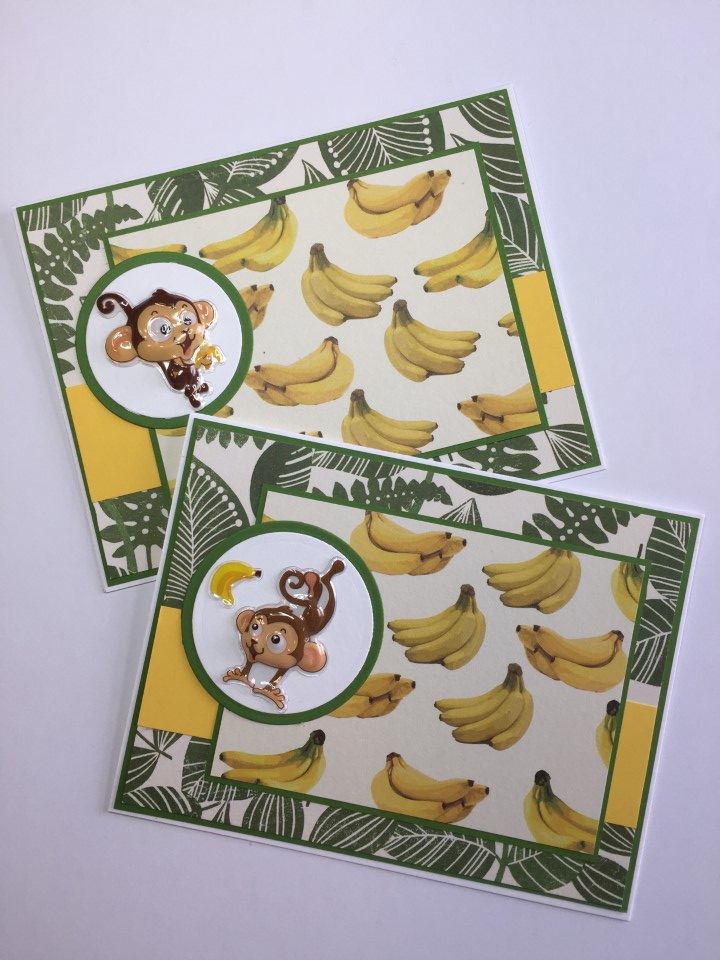
Even though the tropical print included the same colors as the other papers in the paper pad I struggled to pair it with any of them.  But with all the shades of green I was able to find several papers in my craft room, both solid color and print, to match.  Since I still had the scallop border punch on my desk I used it to dress up the plain black strip across one of the cards.  For the other card I kept it simple with just a few banners in the upper corner and some Nuvo drops for embellishment.

My favorite card from this paper pad was the last card I made.  I had 1 full sheet of the diagonal stripe paper which I paired it with the coffee cup print.  Both are busy prints but with the black matting and gray sentiment panel I think they look great together.

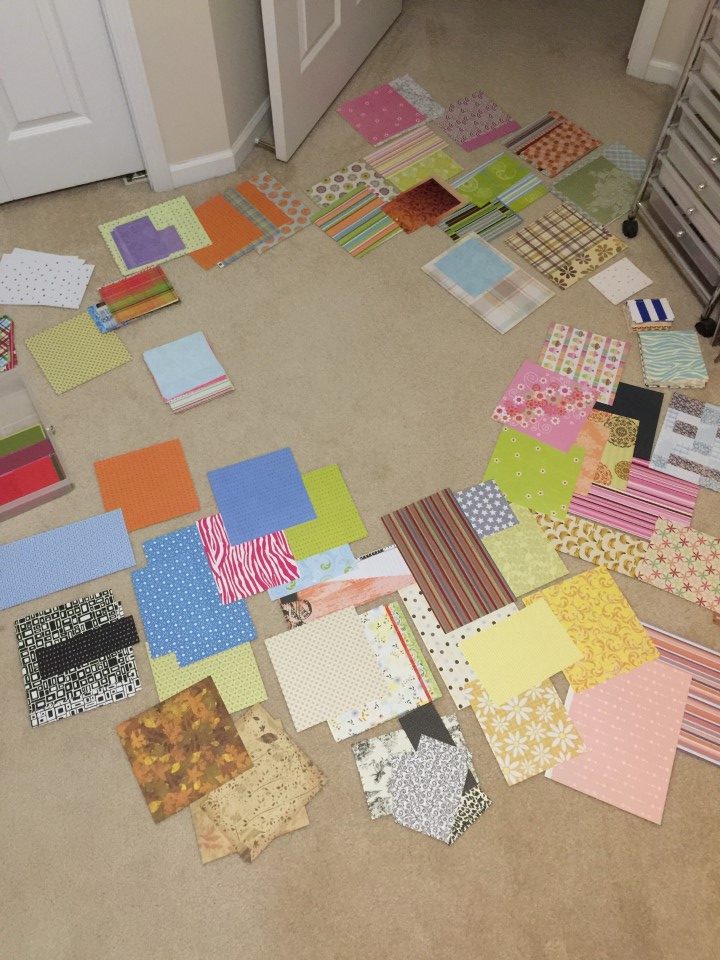
With the slightly larger paper size and a few additional sheets of paper from my craft room, I made over 50 cards using the Greenery paper pad.  My plan was to make cards until I had used all (or most) of the paper.  I didn’t think that just a few extra inches of paper would make such a big difference in the number of cards.

Tim Holtz Idea-ology Retro Grunge 12×12 Paper Pad

Tim Holtz Idea-ology Retro Grunge 12×12 Paper Pad

For something completely different I pulled out an old Tim Holtz paper pad.  I’ve had the paper for many years and decided to challenge myself to use up several sheets.  I like the look and colors of the paper, but since it’s not my usual style I find it difficult to figure out how to use it.

The paper pad is a mix of prints and coordinating solids in a few color groups – rusty reds, greens and khakis.  I decided to use the khaki color.  Since the paper has a masculine feel and an almost military color I decided to run with that.

One of the 12×12 sheets had several 2 1/2 x 3 1/2 inch patterned rectangles that worked great as cut-aparts.  I cut several more 2 1/2 x 3 1/2 inch pieces from a coordinating solid color sheet.  For the sentiment panel I used some of the 1 x 12 inch strips from another sheet in the paper pad.  To keep the card from becoming too distressed looking, I used a crisp graph paper as the background, added a small black banner and a few metallic brads to finish the cards.

The paper for these cards were from a couple of 12×12 sheets that were divided into 6×6 inch patterned panels.  I trimmed the panels down to 3 1/4 x 4 1/4 inches and added a die cut of a soldier.  The “Thank You” sentiment allows the cards to be used by soldiers to send home or the charity to use to send to soldiers.

Another 12×12 sheet included 2×2 inch cut-aparts, where each patterned square bordered a solid color square.  Instead of cutting the paper into 2 inch squares, I cut the paper into 2×4 inch rectangles with 1 patterned square and 1 solid square.  The solid square was the perfect place for the stamped sentiment.  I double matted the 2×4 piece on a charcoal paper and then black cardstock.  A coordinating solid color for the background, some more metallic brands and the cards were complete.

Having used up all of the cut-aparts I was now left with larger patterned prints and solids.  I needed something for focal panels which kept with the masculine theme.  I found a pocket watch and covered bridge stamps in my collection of wooden stamps.  Neither stamp is strictly masculine, but by stamping them with black ink and pairing them with these papers I think they worked.

When looking for embellishments for the first few cards I stumbled across these large brads.  Like a lot of things in my craft room I’ve had these brads forever and have no idea where I got them.  There were only 2 of each color but they matched these papers perfectly.  I kept it simple and used the covered bridge image for the focal panel and added the brads to the upper right corner.

I started with 12 sheets of 12×12 paper and ended with 2 sheets and a few scraps.  Having a goal of using all 12 sheets of paper really helped motivate me when trying a style that I find challenging.

Carta Bella Beach Day Collection Kit

Carta Bella Beach Day Collection Kit

It’s been a while since my last post.  I was anxiously awaiting my Echo Park mystery box.  I had never ordered a mystery box before but had watched some unboxing videos of last years boxes.

I am really happy with all of the stuff they packed into the mystery box – several 12 x 12 collection kits, a 12 x 12 paper pad, a 6 x 6 paper pad, several packages of embellishments (brads, stickers, rub-ons, ephemera), stencil, stamp/die set…  It was definitely worth the $50.

After looking at everything I decided to start with the Carta Bella Beach Day Collection kit.  Besides the fun prints (surf boards, beach wear, beach balls), I was able to find several colors of coordinating cardstock in my craft room.  This was really convenient as local craft stores were all closed due to the coronavirus.  I had an unopened package of Recollections Navy cardstock which I used for most of the matting and several sheets of Recollections kraft cardstock that I used for backgrounds.

Since the surf board print was my favorite, no idea why as I’ve never been surfboarding, I decided to start with that.  I went with a simple layout which featured a large piece of the surf board print as the focal point.  There were several stickers with a surf theme which I used for the sentiments.

With all the bright colors I had tons of choices when picking cardstock.  Since the cardstock panel on this card wasn’t too large, I was able to find several pieces in the scrap bin which were the perfect size.  For this card I used orange, but I also used teal and bright green cardstock.  I cut the matting for the sentiments out of the 4 1/8 x 5 3/8 inch pieces of navy cardstock used for the background matting.  This helped conserve cardstock (since I couldn’t jump in the car and pick up some more) and once covered by the wood panel paper no one will know.

As there was some red in most of the papers I could have paired the red stripes with just about anything, but there’s just something about a red, white and blue card that I really like.  I’ve used this layout before and it’s one of my favorites.  I used some red mirror Love from Lizi peel-offs to separate the navy cardstock from the prints and to add a bit of shine.

This card was super easy.  The background paper already had the multi-colored stripes so it was just a matter of cutting it to the correct size and adding the surf board focal panel.  I again cut the matting for the sentiment out of the background matting.  To balance out the sentiment in the upper right corner I added a few bright green epoxy dots to the lower left corner.

At this point I was down to smaller pieces of paper, nothing large enough to use as a background.  I still had several stickers left so I looked for a sketch that I could modify to suit the size of the stickers.  I think some of the last cards I made turned out the best.  Trying to figure out how to use up the scraps forces me to be more creative.

This kit included 12 sheets of 12×12 paper so I was able to easily make 60+ cards.  I do find the kits a bit overwhelming when I first start, but once I make a couple of cards I’m usually off and running.  For the first several cards I made at least 4 using the same layout and papers.  As the paper scraps got smaller, I still made several cards with each layout but used different pattern papers.  It takes me a lot longer to use up all the paper and stickers in a collection kit.  For my next mystery box project I used a 6×6 paper pad.

6×6 Paper

6×6 Paper

I’ve had this paper pad in my craft room for ages and had only used a couple of sheets.  I decided to use it up before my Echo Park Paper mystery box arrives.  I want to make room for all the fun new stuff I’ll be getting.  Big smile!

The printed paper is really a paper, not a cardstock, so I find it a bit harder to work with.  It’s not as forgiving if you need to pull it up and re-position it after it’s taped down.

I decided to start with the mustache paper.  I used the brocade print and purple cardstock to pick up the purple mustaches in the printed paper.  The mustache stamp is something I’d picked up at Michaels in one of the dollar bins.  I figure it’s the perfect sentiment to use with this paper.

I’m not sure why but my first thought when looking at this floral paper was a sympathy card.  I started by finding a couple sheets of coordinating yellow/gold tone-on-tone paper and some brown cardstock.  I was able to get 2 floral panels out of each 6×6 sheet and made 6 sympathy cards.  I still had 3 sheets of the floral paper left so decided to do a few Get Well Soon cards.  I cut the floral paper to match the width of the sentiment and added brown/white bakers twine for some texture.  At this point I just had strips of the floral paper left.  I used a couple of the wider strips to make a full background, covering the seam with a strip of brown scalloped cardstock.  The rest of the paper strips were cut to size and matted on a single piece of brown cardstock.  For both layouts I used a larger Hello sentiment and more of the brown/white bakers twine.

Instead of trying to figure out a color to pair with the leaf print paper I decided to focus on the tan/gold color of the flowers.  I used a gold foil kraft cardstock for the strip on the right side of the card.  To bring in a little more gold I added the thickest width of the gold Love from Lizi peel-offs on the black scalloped matting.

The paper for the next cards had a “soft” feel to me so I decided to go with romantic sentiments, not Valentine but something that could be used anytime.  I paired the paper with a pink tone-on-tone print and light grey cardstock for matting.  I added pink iridescent Love from Lizi peel-offs and Wink of Stella on both cards for a little sparkle.

My favorite paper in the paper pad is this grey print.  It has a few pops of bright green that were picked up as the accent color on all the cards.  Two of the layouts have a scalloped border on the sentiment panel and bright green paper flowers.  All 3 layouts used some more Love from Lizi peel-offs, this time in the Apple Green Mirror color.

I used this printed paper last since I had the most difficulty figuring out what to pair with it.  After thumbing through a bunch of paper I settled on a taupe polka dot print.  For some of the cards I used a champagne pearlescent cardstock for the background and others I used the printed paper as the background.  For all of the cards I used gold as an accent color – Nuvo drops, ribbon, Love from Lizi peel-offs.

This finished up one 6×6 paper pad.  My Echo Park mystery box should be arriving in the next day or 2 so I think I’ll find a small project to work on tomorrow.  Maybe a one sheet one…

Recollections Doughnuts 12 x 12 Paper

Recollections Doughnuts 12 x 12 Paper

Instead of pulling out several sheets of paper I decided to use just 2 sheets.  I wanted to work on something that I could finish in a single crafting afternoon.

After rummaging through the miscellaneous paper draw, I settled on a doughnut print paper that I had picked up on clearance at Michael’s.  I’m not a huge doughnut fan but I really liked all the bright colors and figured I would have no problem finding something to pair with it.  I decided on a green, yellow and blue “stripe”.  To keep the cards light and bright I used light green and bright blue cardstock for all of the matting and green and blue ink for the stamped sentiments.

I decided to make 2 cards using as many different layouts as the paper allowed.  To get started I cut background panels from the striped paper.  I added a 1 1/2 inch wide strip of light green cardstock and a 2 3/8 x 4 1/4 inch panel of the doughnut paper.   The sentiment is stamped in Memento Bahama Blue ink.  Everything is matted on the bright blue cardstock.

The next set of cards used the striped paper and the light green cardstock as the background.  I usually like to put something (matting, Love from Lizi peel-off, ribbon…) over the seam of 2 papers but since very little of the seam would show once the other panels were added I decided to skip it.  The doughnut panel is 2 1/2 by 5 1/4 inches and the sentiment circle is about 2 inches in diameter.  The sentiment is stamped in Memento Pear Tart ink.

For the next 2 cards I looked for a sketch that would use up some of the smaller pieces of the striped paper.  I wanted to keep the focus on the striped paper and the sentiment so I matted those with the bright blue cardstock.  The sentiment is from the Ranger Letter It Encouragement stamp set and is stamped in Memento Bahama Blue ink.

For the last 2 cards I used up the rest of the striped paper for the background.  I didn’t have enough of the bright blue cardstock left so matted everything in the light green.  I like the “softer” look of the light green matting but was surprised how much color just that little bit of blue matting had added to the other cards.  The sentiment is from another Ranger Letter It stamp set, Occasions, and is stamped in Memento Pear Tart ink.

I ended up making 8 cards and using up all but small scraps of the striped paper.  There was still a bit of the doughnut paper left but I’ll just put it with the other sheets of doughnut paper and save it for later.

American Crafts Metropolitan Collection Part 2

American Crafts Metropolitan Collection Part 2

On to the second mini-collection…

This time I used the light blue, red, tan, black and white papers.  The collection includes stripes, florals and geometric prints.  Again, as this is 12 x 12 paper I was able to make several of each card.  I decided to focus mainly on birthday sentiments as I think the colors and prints work for both masculine and feminine cards.

The first few cards used the small stripe and geometric circle print.  As both prints are quite busy I left a wide white border around the sentiment to break up some of the print.  I thought about adding some embellishments but nothing seemed to fit with the design.

For the next set of cards I used the wider stripe and a floral print.  Because the floral print was so large I gave up trying to figure out how to keep the print recognizable and instead treated it as just coordinating colors.  The wider stripe matched the scale of the floral print and adding the larger “Hang in There” sentiment panel kept the prints from being too busy.  As a final touch I added a small black bow for some dimension.

I liked the combination of the stripes and circle print and decided to try the circles as the background.  The small stripe was too busy when used as the focal panel, but the wide stripe worked well.  Keeping with the clean lines of the card, I used a bold font “Happy Birthday” sentiment and added a few Mustard Gold Nuvo drops for some dimension.  This was my favorite card from the mini-collection.

I still had a bit of the wide stripe paper left and decided to pair it with the small floral print.  I thought about using the same layout as on the “Hang in There” cards but decided the smaller scale of the floral print would work for a full background.  For the solid strip across the center of the card I used some blue satin mirror specialty cardstock.  It added a bit of shine without being too much.

I hadn’t used the tick mark print yet.  It’s still a busy print but with the smaller scale worked well as a background.  I used some more of the small floral paper as the focal panel.  The sentiment and focal panels are both matted in black cardstock.  I thought about matting the light blue strip in black cardstock as well but thought it might be too much so instead edged the strip with matte gold peel-offs from Love From Lizi.

The third floral print in the mini-collection had a bold print which didn’t pair well with the geometric circles or the tick mark prints.  The small stripe paper seemed to work best.  To make ensure enough of the floral print was visible I used a thinner piece of the stripe paper and placed the sentiment panel on the stripe paper.

The last few cards has a simple layout that works great for using up scraps.  The printed paper panels are placed on a solid color cardstock background and separated with some more Love From Lizi peel-offs.  For a finishing touch I added a few Nuvo drops.

There is one more mini-collection which includes pinks, oranges and browns.  Unfortunately I don’t have any brown cardstock that matches and since we’re required to stay at home I’m going to save that collection for later.

American Crafts Metropolitan Collection

American Crafts Metropolitan Collection

For something completely different than tropical cards…  I used a few sheets of paper from the American Crafts Metropolitan Collection.  The paper all has a similar feel but based on color seemed like 3 mini-collections.  I decided to start with the turquoise, green, taupe, black and white papers.  Since this is 12×12 in size the prints tended to be a little larger but pairing them with the 2 different stripe patterns worked well.

To make the most of the paper, I cut the striped 12×12 sheet into 4 x 5 1/4 inch pieces which I then used as the background for 6 cards.  The die cut floral circle is roughly 3 1/2 inches in diameter.  I wanted the floral circle to be as large as possible but still leave a bit of the striped paper showing on each side.  I cut the matting for the floral circle out of the matting for the striped paper.  This doesn’t impact the matting for the striped paper and helps save on cardstock.  Adding a simple sentiment panel across the card kept the look neat and clean.

I really liked the floral branches paper but the image was quite large.  To ensure as much of the background as possible was still visible, I kept the striped and sentiment panels small.  The striped panel is about 5/8 inch wide and the sentiment panel is 2 x 3 1/2.  As a final touch I added a few black pearls from Queen and Company to the sentiment panel.  I was able to make 6 cards by again cutting the floral branches paper into 4 x 5 1/4 inch pieces.

For the next card I used the thinner striped paper as the background and some more of the floral print for the focal panel.  Only a small piece of paper was needed for the solid color panel and by looking through my scrap cardstock I was able to find just enough of the turquoise paper.  Using a sentiment with a bold font kept the sentiment panel from getting lost on the busier prints.

For the last few cards I ended up using the floral print for the background.  Adding panels of the striped paper helped to tone down the floral print and placing the sentiment panel on the background paper helped to break up the larger area.

I really liked the look of these cards.  And having some of my favorite colors (blues and greens) didn’t hurt.

DCWV Bahama Mama 12×12 Paper Pad

DCWV Bahama Mama 12×12 Paper Pad

For some more bright and colorful cards, I pulled out DCWV’s Bahama Mama paper pad.  I decided to challenge myself to use 1/2 of the 48 sheet 12×12 pad.  When flipping through the paper I realized that a few of the designs did not lend themselves to card making.  I ended up pulling out 21 sheets of paper, not quite half but definitely a good start.

As several of the papers have large scale prints, I kept the layouts simple using many of the papers for backgrounds.  Papers with cut-aparts and smaller prints were used as the focal points.  As the paper was 12×12 in size, I was able to make several of each card.

To get started I used the banana print and some cute monkey stickers I had picked up at the local dollar store.

I really liked the pineapple prints but couldn’t figure out a way to cut them to make a focal panel.  Instead I used them as part of the background, pairing them with a smaller print.  For some more color I used pink and teal specialty paper for the circles behind the sentiments.

For these cards I used a pink flamingo print as the background, but the other pieces were all from a single sheet of paper.  The paper had several different prints running horizontally across the paper.  Cutting the prints into strips I used the pineapples for the bottom panel and different flamingo prints for the upper panel.

I hadn’t used any of the cut-aparts so I looked for a card sketch that would work.  To keep the background from being too flat I used a couple different embossing folders.  As a final touch I added a specialty paper flag for some added interest.

I still had a couple of cut-aparts which I didn’t think worked with the previous design.  I remembered I had some tropical print washi tape and decided to try it.  Using the washi tape as stripes across the card added some color and matched the cut-apart.  To finish the card I stamped a small Hello sentiment and added a couple of black Nuvo drops.

With 21 sheets of paper, I was able to make a ton of cards.  I even pulled out the 2nd sheet of some designs, like the leaf background on the monkey cards, so that I could use up all of the banana print paper.  I think this will make a nice batch of bright cheerful cards to donate.

DCWV Berry Street Farmer’s Market

DCWV Berry Street Farmer’s Market

Since we’re stuck in the house I wanted to use some bright cheerful paper.  For my next few projects I am doing smaller batches of general cards.  I pulled out 3 sheets of paper from the Farmer’s Market 12×12 paper pad.  I thought the red gingham and the teal polka dots would make good backgrounds and the small floral print would work well as the focal point.  For a solid color I added kraft cardstock and used teal cardstock for all the matting.  I made at least 2 cards with each layout, some were identical and others (like in the last photo) swapped the gingham and polka dot prints.

To get started I used a sketch one of my favorite YouTube cardmakers had recently used.

With only 3 pieces of pattern paper to work with, I tried to use all of the scrap pieces.  The gingham strip on this card was leftover when I cut the larger gingham piece on the previous card.  For some embellishment, I added a couple teal brads that had been floating around in my craft room for ages.

After a few cards with the gingham I switched to the polka dots.  I went through my scraps and found a couple pieces of red cardstock that coordinated with the red in the floral paper.

For this card I pulled out a scalloped border die.  I thought the scallop would coordinate well with the pattern paper’s country theme.  This ended up being my favorite card.

I still had a few larger pieces of the gingham and polka dot papers but only smaller pieces of the floral print.  I found a sketch that worked perfectly with the paper I had left.

Random Sheets of 12×12 Paper

Random Sheets of 12×12 Paper

I don’t know if you’re like me, but…  I can’t resist buying paper, especially when it’s on sale.  I’ve got drawers full of one off sheets of paper that I was “sure” I could use.  I decided to go through one of the drawers to try and use up some of these random sheets of paper.

Since my desk wasn’t big enough, I ended up spreading out the paper on the floor.  After sorting through the paper, I had several possible “matches”.

Since these were larger pieces of paper I was able to make several cards with each “match”.  While I was in the using-up-supplies mood, I pulled out sequins, ribbon and brads that I also can’t resist buying.

One of my favorites was this baby card.  While it is the traditional pink, I think the bright pink and yellow paper was a bit unexpected and neither papers were specifically baby-themed.

I made several cards using this bright green printed paper as the background.  For the 2 smaller panels I was able to use several different scraps that coordinated with the green.

I really like the plaid paper on these cards.  It has almost a fabric feel to it.  I didn’t have a full 12 x 12 sheet of the plaid, but by pairing it with the orange paper I was able to stretch it into a couple of cards.  The cards were a little boring even with the brown border punched strip so I added a few orange brads around the sentiment.

The paper for this card was part of the artist paper included in a Stampers Sampler Take Ten magazine (which I really miss).  The paper included 4 different prints.  By using a different print for each of the panels I was able to make several cards from a single sheet of 8 1/2 x 11 paper.

This card was a little more time consuming since not all areas of the madras plaid paper coordinated with the colors in the background paper.  I did a bit of creative cutting to get as many usable pieces of the plaid as possible.

It was a lot of fun going through the different papers.  It’s interesting to see how my style has changed over the years.  I found several sheets of paper that I don’t see myself using and pulled those out to donate along with the cards I made.

I have a couple more drawers of paper that I didn’t even touch.  I need to try doing this every few months to thin out my paper supplies.