Browsed by
Category: My Booth

Antique Booth News

Antique Booth News

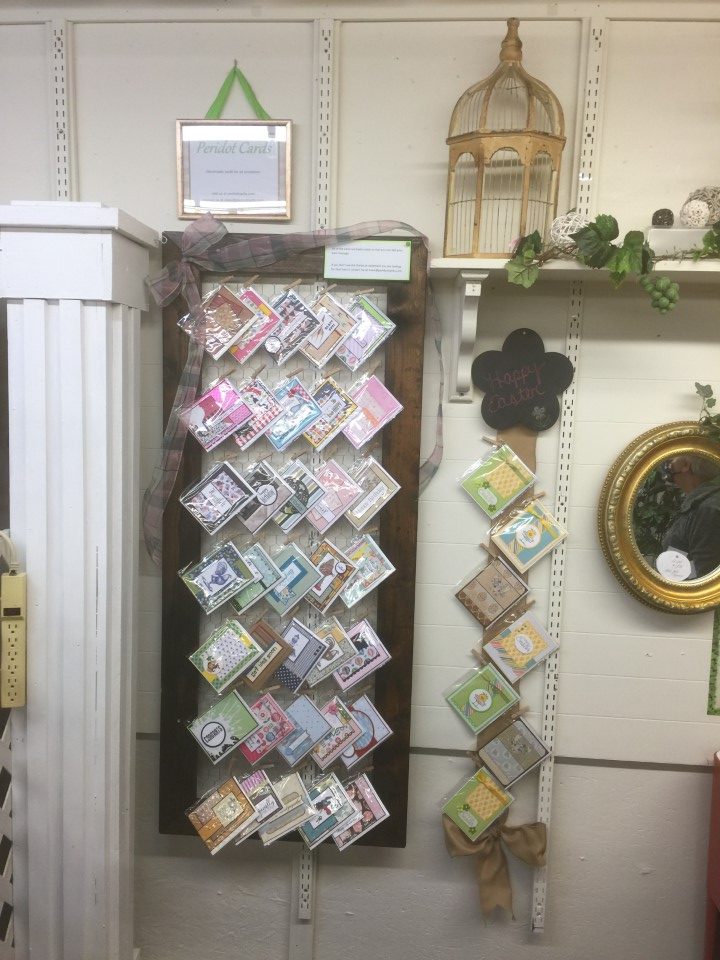
No new cards in the last couple weeks.  I have been busy getting stuff ready to move into my bigger antique booth.  I’ll still have my “old” booth which has my card display but now I’ll have room for some smaller furniture pieces.  In addition to the booth, we created a website (Rustandsuch.com) to showcase items that are currently available in the booth or that will be coming soon.

While I was the featured vendor at Touch of Country Mall last month I had space in an extra booth where I was able to display a beautiful wicker set – vanity/desk, bench and mirror.  I was disappointed it hadn’t sold but it fits perfectly in my new booth and has been great to use for staging.  I’m still hoping it will sell (soon) as I’ve already found a few more furniture pieces – a vintage 60’s kitchen table with Formica top and chrome legs, a piano bench I’d like to refinish and a few small end tables.

I knew I’d need some additional display space and was lucky enough to find some cute red shelves at an estate sale.  They are the perfect size and the red is just the right pop of color in the booth.  I’m still working on getting everything just the way I want it.  I need to hang a few more things on the wall and add a couple rugs on the floor for some more color but I think it’s looking pretty good so far.

And now for pictures…  I can hang some items in front of the window.  I have found a vintage crib and plan to hang the side rails vertically to display vintage linens.  I have quite the collection of doilies and dresser scarves.  When I think of all the time that went in to crocheting and sewing them I can’t resist when I see them at estate sales.

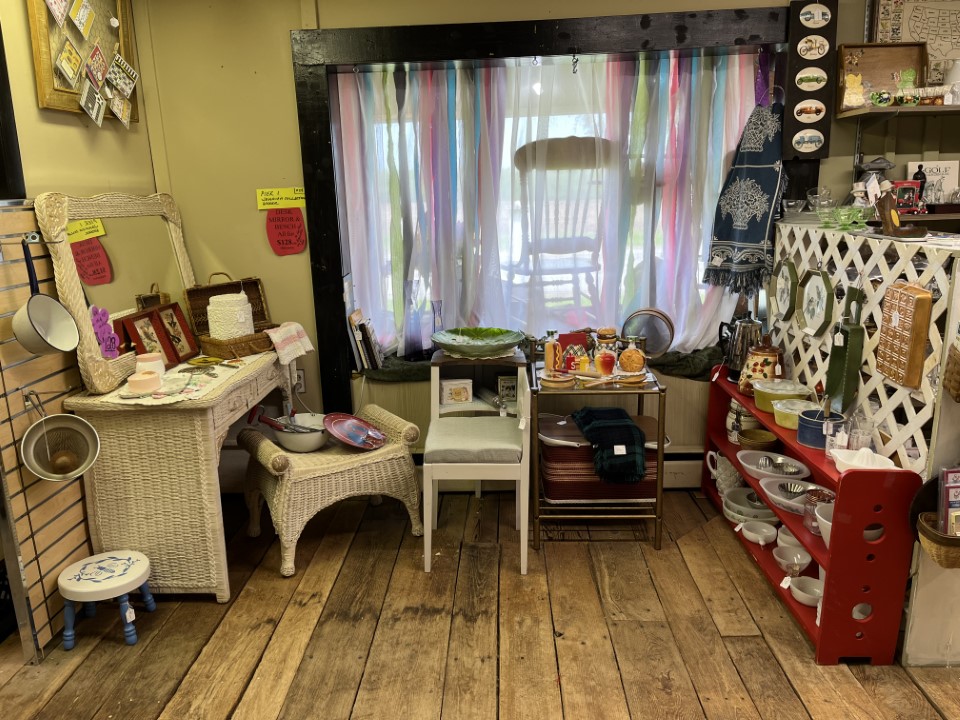
Here’s a look at the wicker set.  I decided to stage it as a vanity and used a floral bone china tray to hold a vintage milk glass cold cream jar and powder box.  I added a few framed bird lithographs, a couple of hand mirrors, a suitcase style basket and a large floral canister.  And of course I couldn’t resist adding a few linen items – dresser scarf , doily and cute child sized crocheted apron.

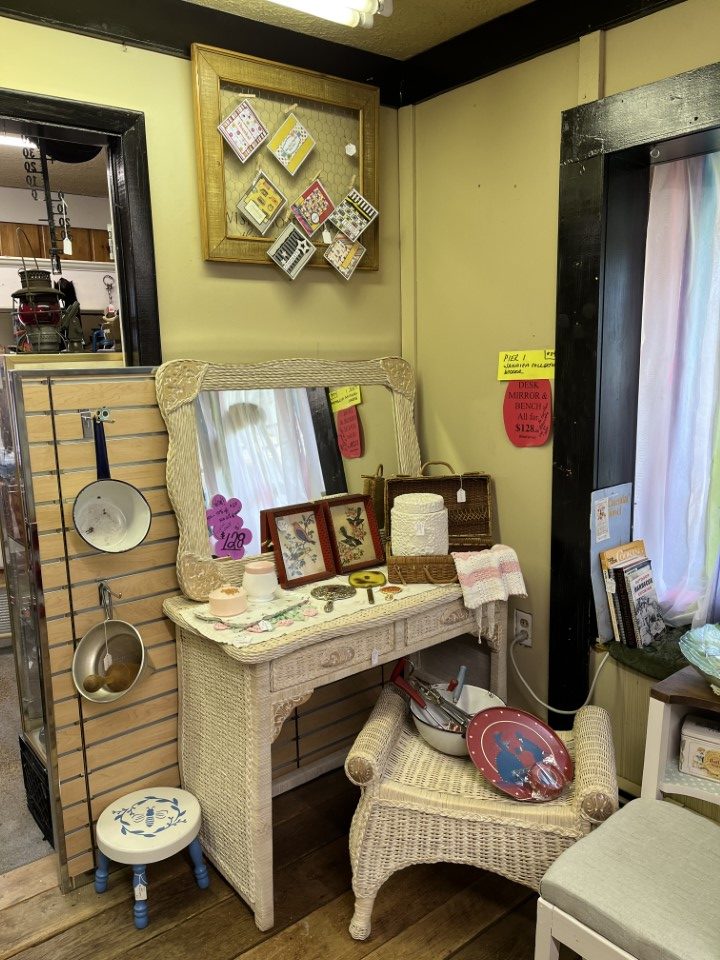
For the other end of the booth, I added the red shelves.  I love how the vintage kitchen items really pop against the red color.  There was also room to add a small end table.  It’s not old but the muted gold color works and the glass top keeps everything nice and light.  There’s not a lot of wall space in the booth and the white lattice adds another option for hanging smaller items.  Here I added another pair of bird prints, a hand painted wooden scoop and a copper color alphabet baking pan.

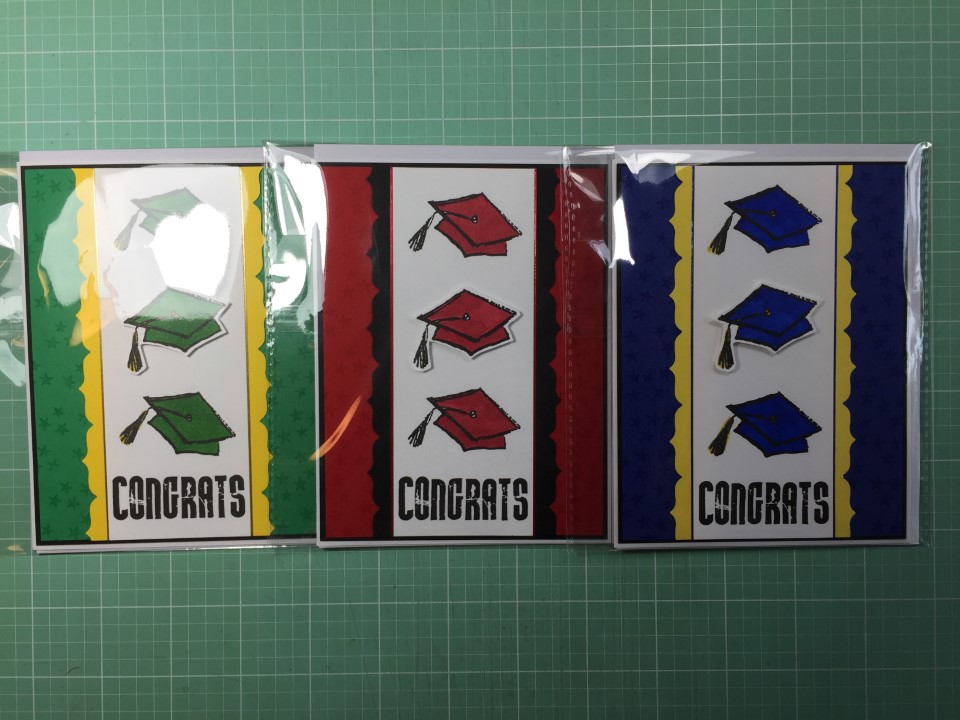
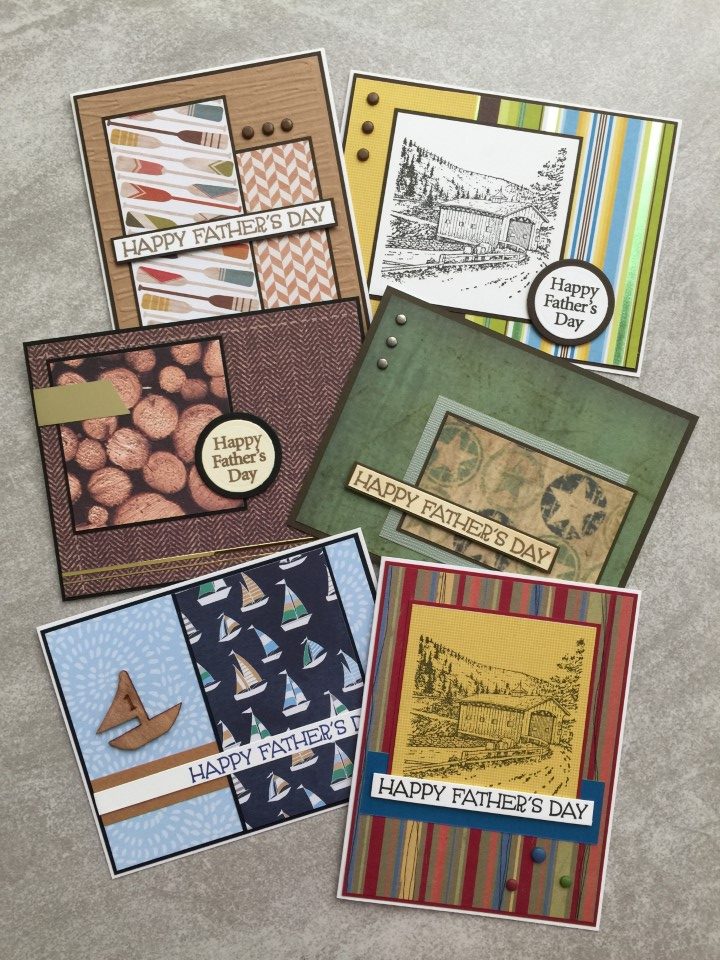
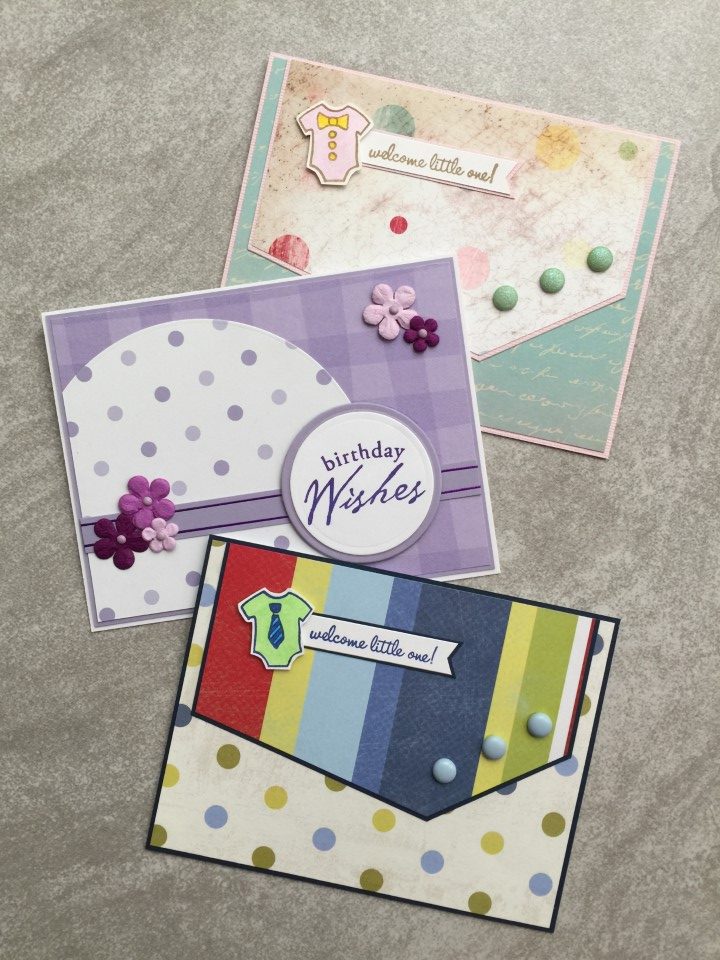
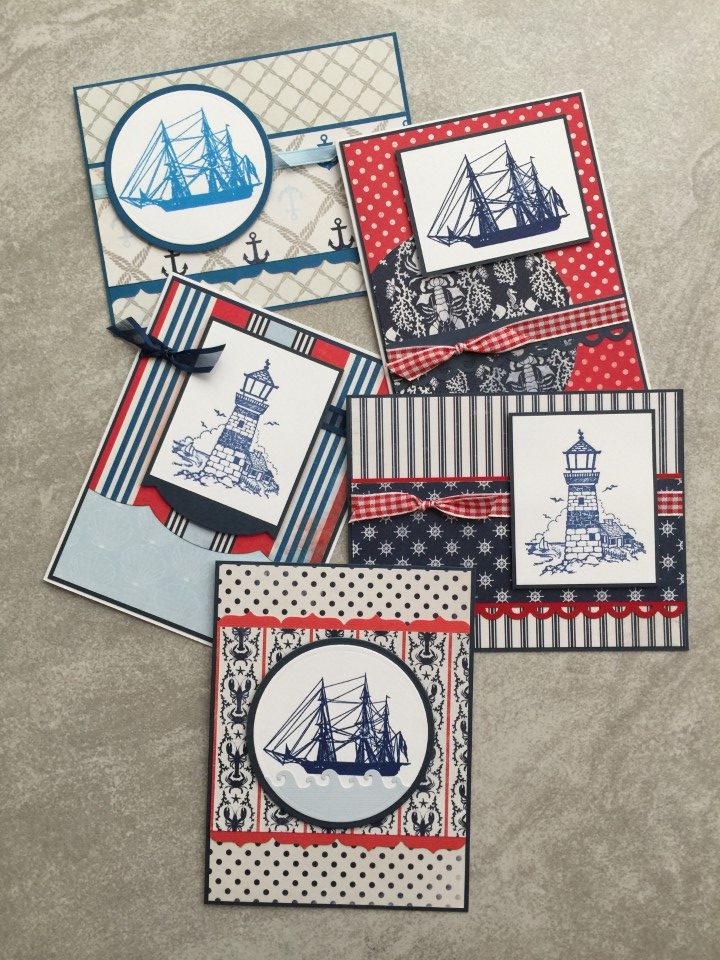
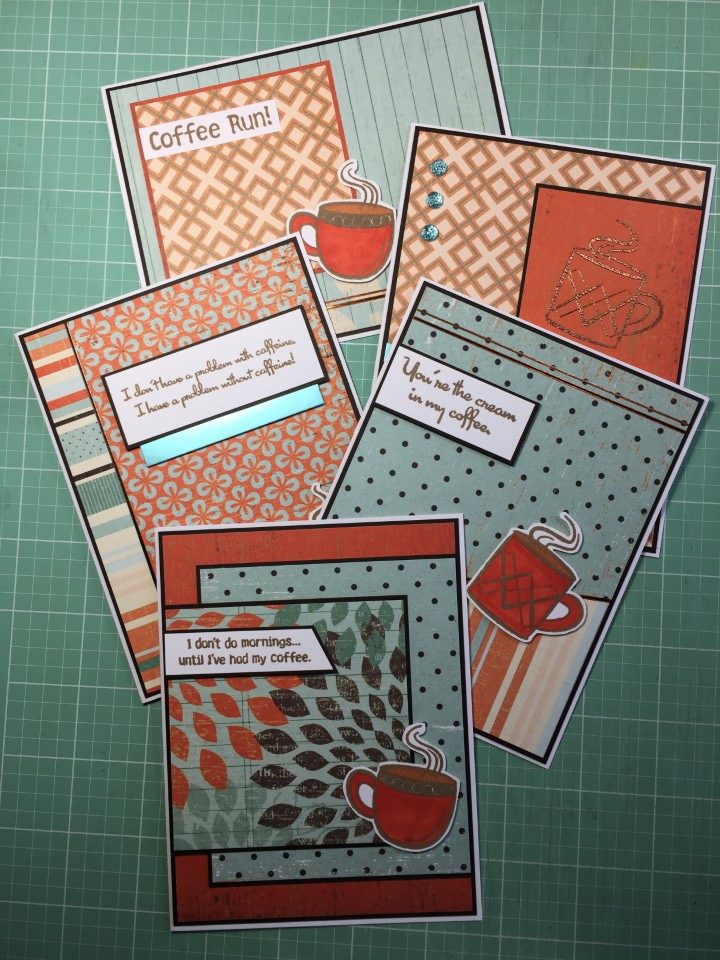
After I find a few more items to fill-up the booth I can get back to making cards.  I dropped off several hundred cards to Cards for Soldiers over the weekend and need to get started filling up another box.

Wacky Week Cards

Wacky Week Cards

The antique store where I have my little card/antique booth, is having a fun summer sales week – June 23rd through June 27th.  Each day will celebrate a fun “wacky” holiday.

  • Wednesday — National Flamingo Day
  • Thursday — National Pralines Day
  • Friday — Global Beatles Day
  • Saturday — Balloon Fest (which coincides with the Michigan Challenge Balloonfest in Howell, Michigan)
  • Sunday — National Sunglasses Day

In addition to running a sale in my booth, I created a few cards “celebrating” different days of the sale.  As these holiday’s are not really card-giving occasions, I kept the cards blank or used general sentiments so they could be used any time.  My favorite cards were for Global Beatles Day.  The cards featured stamped images of beatles (the insects) colored in bright pink, yellow, orange and green, similar to the colors on a few of the actual Beatles album covers.

Most of the cards on the display are for Wacky Week but I did leave a few of the more common occasions (birthday, hello, for you) as well.  To see the cards and enjoy some fun shopping, stop by Touch of Country Mall.

Graduation Cards

Graduation Cards

Most of my recent posts have focused on what’s been going on with my little card/antique booth and this post isn’t any different.  LOL.

I haven’t really sat down and just created random cards.  Everything has been geared toward the booth – getting Mother’s Day, Father’s Day and Graduation cards made.  I’m still trying to get into the rhythm of having multiple cards available just a few weeks before the holiday/occasion.  When I make cards to donate there isn’t really a “due date” on them.  The charity starts sending out holiday cards several months in advance and if I miss the deadline, the charity just stores the cards for next year.

So far I’ve done pretty well.  The Mother’s Day cards were out at the booth 1 month in advance and Father’s Day cards are ready to go.  Based on the Easter and Mother’s Day cards a 1 month lead time might be too much.  So instead of Father’s Day cards, the next “featured” cards at the booth will be Graduation cards.  Which of course I hadn’t started on.  So the past week has been all about Graduation cards.

In fact, I was so focused on getting the graduation cards ready that I completely forgot to take pictures of the cards before I “bagged and tagged” them to put out at Touch of Country Mall.  Instead of unpackaging the cards, I took a few pictures with them in the cellophane bags.  There’s a bit of glare, but I think you can still get an idea of what will be available in the booth.

I only made 1-2 of each card as I didn’t want local graduates to possibly receive duplicates.  A few cards feature local school colors, but I kept most of them more generic.  I had a lot of fun using some glitter paper that I’ve had for several years (glitter is not allowed on the cards that I donate).  I also pulled out a few star-shaped dies and punches that I don’t frequently use.  Lots of Love from Lizi peel-offs and die cut borders were added for embellishments on many of the cards, and I did add a bit of ribbon on some of the busier prints.  For a bit of shine and texture the sentiments on several of the cards were heat embossed.  The cards are all on display in my booth and I’m looking forward to seeing which cards get the most attention.

Messages for the Inside of Cards

Messages for the Inside of Cards

While I was visiting my booth at Touch of Country Mall recently, I received a suggestion to add messages to the inside of my handmade cards.  I know it’s not always easy figuring out what to write; I struggle with this too.

I have thought about adding messages but it’s difficult to know what style of message to add.  Obviously if it’s a Mother’s Day card or Christmas card the message needs to reflect the holiday.  But what kind of  “feel” should the message have?  Some people like a serious heartfelt message while others like a light-hearted humorous message.  I decided a stick with the blank inside so the customer can add a message that is personalized for the card’s recipient.

But, understanding that a little help with a message may be appreciated I’ve decided to place a small handout of sample message in my booth.  This way customers can take one along with the card they are purchasing.  I can change the handout for the different occasions and holidays.  For now I’ve put together a handout of Graduation messages and am working on a handout for Father’s Day.  Based on the response I’ll decide if this is something I want to continue.

Here’s the handout with sample Graduation messages.  I’ve tried to include a range of sentiments so there is something for everyone.  Or, will at least give the customer a starting point to create their own message.

Ideas for Graduation messages

Congratulations on your well-deserved success.

Caps off to you, Graduate! Well done!

Congratulations on your graduation and best wishes for your next adventure!

You deserve all KINDS of high fives and hugs! You worked hard and got it done.

Hope you’ll always find yourself as happy and full of big, crazy dreams as you are today!

Sending warm thoughts and big congratulations to a graduate we’re so very proud of.

Our warmest thoughts and highest hopes are with you as you celebrate your graduation.

Always remember: There’s no limit to what you can do if you keep believing in yourself.

This calls for celebrating! Congratulations!

Congratulations today and best wishes for all your tomorrows.


To create the handout I did an internet search for “greeting card messages” and found several sites that were helpful.  My favorites were:


Booth Update and Latest Cards

Booth Update and Latest Cards

I’ve seriously missed my goal of doing a weekly blog post.  So, in an effort to catch up I’m combining a few intended posts about cards I’ve completed and the latest activity at my little booth at the Touch of Country Mall.

Based on the cards that sold the first few weeks at my booth I was thinking maybe holidays would be “the thing”.  So I had a nice batch of Mother’s Day cards done and ready to go.  I put them out at the booth earlier this month along with a few collectibles – tea cups and saucers, milk glass pieces, etc.  All things that would pair nicely with a Mother’s Day card.

Keeping with the holiday theme, I spent a week or so working on Father’s Day cards.  I want to have them ready to put out right after Mother’s Day.  Here’s a look at a few of those cards.

I’m also planning to swap out a few of the collectibles for things that have a more “Father’s Day” feel to them.  So far I have a couple vintage booklets from Ford Motor Company, some glass insulators and some vintage bottles.  I’m still figuring out what may interest the people shopping at my booth.  I definitely don’t want my display space to become stagnant so I’ve been brainstorming ways to keep the booth interesting for upcoming seasons and holidays.

In addition to the Father’s Day cards, I also made a few more general cards (Birthday, Baby, etc.) to replace those that have sold in the booth.  I really like how the baby boy card turned out.

Since I don’t know yet what cards will get the most interest, I don’t want to only focus on holidays.  With that in mind, I pulled several sheets of paper from the Authentique Seafarer 12×12 paper pad.  It is a beautiful red, white and blue nautical themed collection.  Instead of adding sentiments to the cards, I kept them blank only adding stamped images and embellishments.  The ship and lighthouse images are from a couple different stamps sets.  For several of the cards I also added red, blue or gingham ribbon.  I planned to put a few individual cards in my booth but after looking at the cards I think a set would also be a nice idea.

I ended up making over 30 cards which would be too many to put in my booth.  I continue to participate in the Cards for Soldiers program so any of the extra cards will be donated.

I’m still debating about making high school and college/university graduation cards.  If I do, I’ll need to get going on these soon as I should have them at the booth in the next week or two.  I think it will all depend on whether I have paper to match the school colors.

Adventure Update

Adventure Update

I’m disappointed that I’ve not been keeping up with my goal of a weekly blog post but…  At least for the last couple of weeks I can say it’s because I’ve been working on “stuff” for my little booth at the Touch of Country Mall.

I was very excited that several cards were purchased the first week the booth was open.  Since I wasn’t sure what people would be interested in buying I had only made a few Easter cards for the booth.  When I saw that most of the Easter cards had sold, I got busy and made a few more cards.  It’s only been a couple weeks but it looks like holiday cards might get the most interest.  So, for the last 2 weeks I’ve been busy making Mother’s Day cards which I’ll be taking to the booth this week.  Here’s a sneak peek of some of the cards.

I’ve also been busy making a few sets of 4-5 cards.  The first couple sets are initial note cards with each card using the same design/layout but in different colors.  I wasn’t sure what initials to do, so I did a quick search on Google for the most common first names.  I’ve also done a couple sets with each card featuring a cute coffee theme sentiment.

I’ve also been thinking about other items that I can include in the booth.  A few extra card making supplies like paper, stamps or ribbon will be easy enough to hang on the chicken wire display, but other items will require shelf space.  So, I enlisted my husband to make a simple 4-5 shelf display.  I helped with the painting and staining, but he did all the real work.

I’m planning to add a few small “collectibles” like vintage cups and saucers or maybe some depression glass to the booth.  They are nice by themselves, but I think pairing one of the coffee themed card sets with a vintage cup & saucer would be a cute gift.

I’ll see how the Mother’s Day cards do.  I might need to make a few more, but for now I’m getting started on Father’s Day and Graduation cards.

My New Adventure

My New Adventure

I don’t have any new cards to post this week since I’ve been getting ready for my new adventure.

I’ve thought about trying to sell some of my handmade cards but wasn’t sure how I wanted to go about it.  I had tried a craft show several years ago and although I made some sales and have a couple repeat customers, craft shows are just not my thing.  I know a lot of people sell cards online but the packaging and shipping doesn’t really appeal to me.  This narrows down my options to selling at a local shop.

After a recent visit to the Touch of Country Mall in Howell, Michigan, I decided to rent a small booth.  The store is really cute and has a great mix of antiques, collectibles and handcrafted items.  Also, everyone that I’ve met there has been very friendly and helpful.

As this is a first attempt, I didn’t want to over do it and decided to start by renting some wall space.  Then it was just figuring out a way to display the cards.  I wanted it to be easy for customers to see what is available and to remove a card from the display.  I had recently added some chicken wire to an old window frame as home decor and thought something like this could work for my booth.  I didn’t have a large enough window on hand so my husband built a large frame, which we stained and then added chicken wire.  I can easily attach the cards using small clothespins and customers can just unclip the card they would like to purchase.

To fill in the empty space next to the frame, I decided to add a “featured” cards section showcasing a specific holiday or sentiment.  Since the theme would change every few weeks, the display needed to be somewhat generic.  Some burlap ribbon and a chalkboard work for now.  I can clip cards to the ribbon and easily change the message and colors on the chalkboard to match the theme.

Here is a picture of my booth.  I think it fits well with the look and feel of the store.  I’m sure it will evolve as I figure out what works best but I think this was a good start.

I’ll still be donating cards to the Cards for Soldiers Program but this will be something new and fun to try.